How I Clean My Olympia Cremina Espresso Machine
Keep your espresso machine in top shape with these cleaning steps.
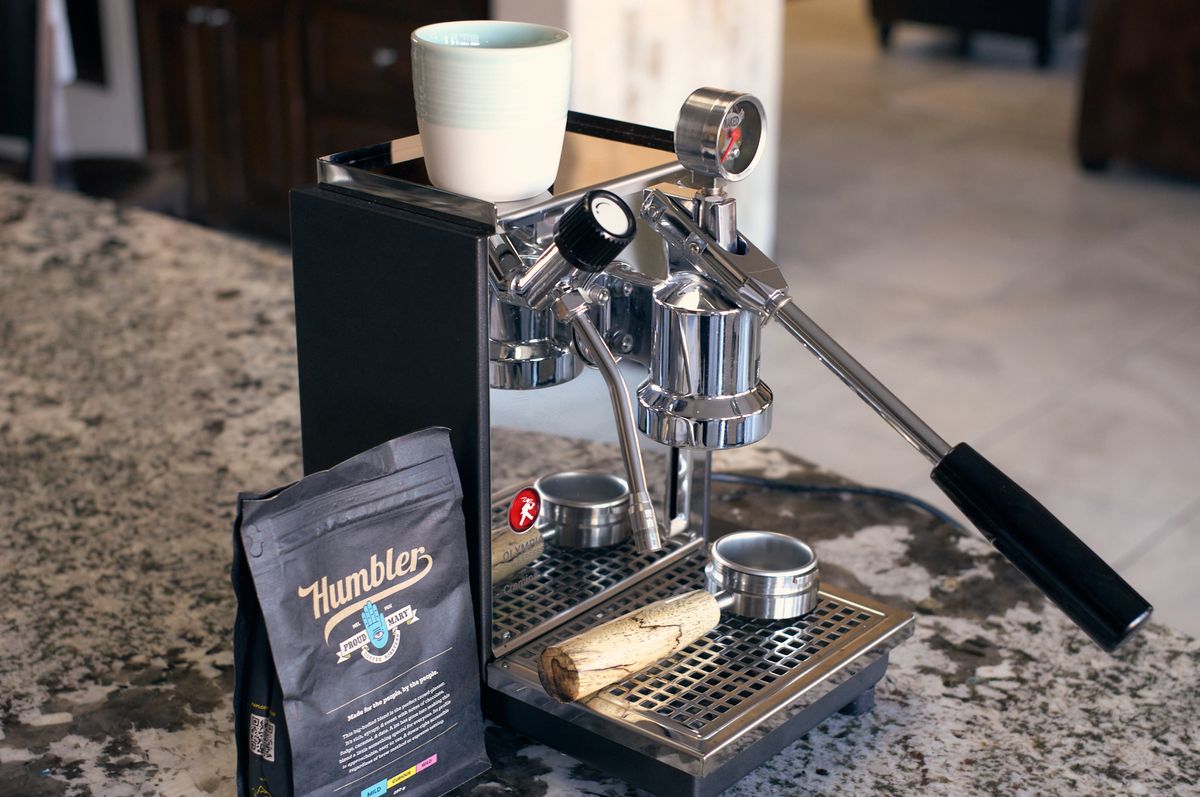
One of the beautiful things about the Cremina is its simplicity (especially over something like the Linea Mini). But even simple things need cleaning from time to time.
The Cremina doesn't have a lot of steps to keep it functioning at its peak. Primarily, you need to remove the shower screen and gasket to clean the group, and I like to remove the milk frothing tip to give that a soak and scrub.
Here are my 3-6 month maintenance steps.
My Three-Month Cremina Cleaning Routine
Before you begin, you need a few things to perform this cleaning.
I recommend having a spare group gasket on hand. While it's possible to remove the gasket without damaging it, I've found it almost impossible. Every time I do this service, I bite the bullet and replace the gasket. I order a pack of 5 gaskets at a time from Cerini and keep them on hand. While they're not cheap (why, I have no idea), it's better to have spares just in case.
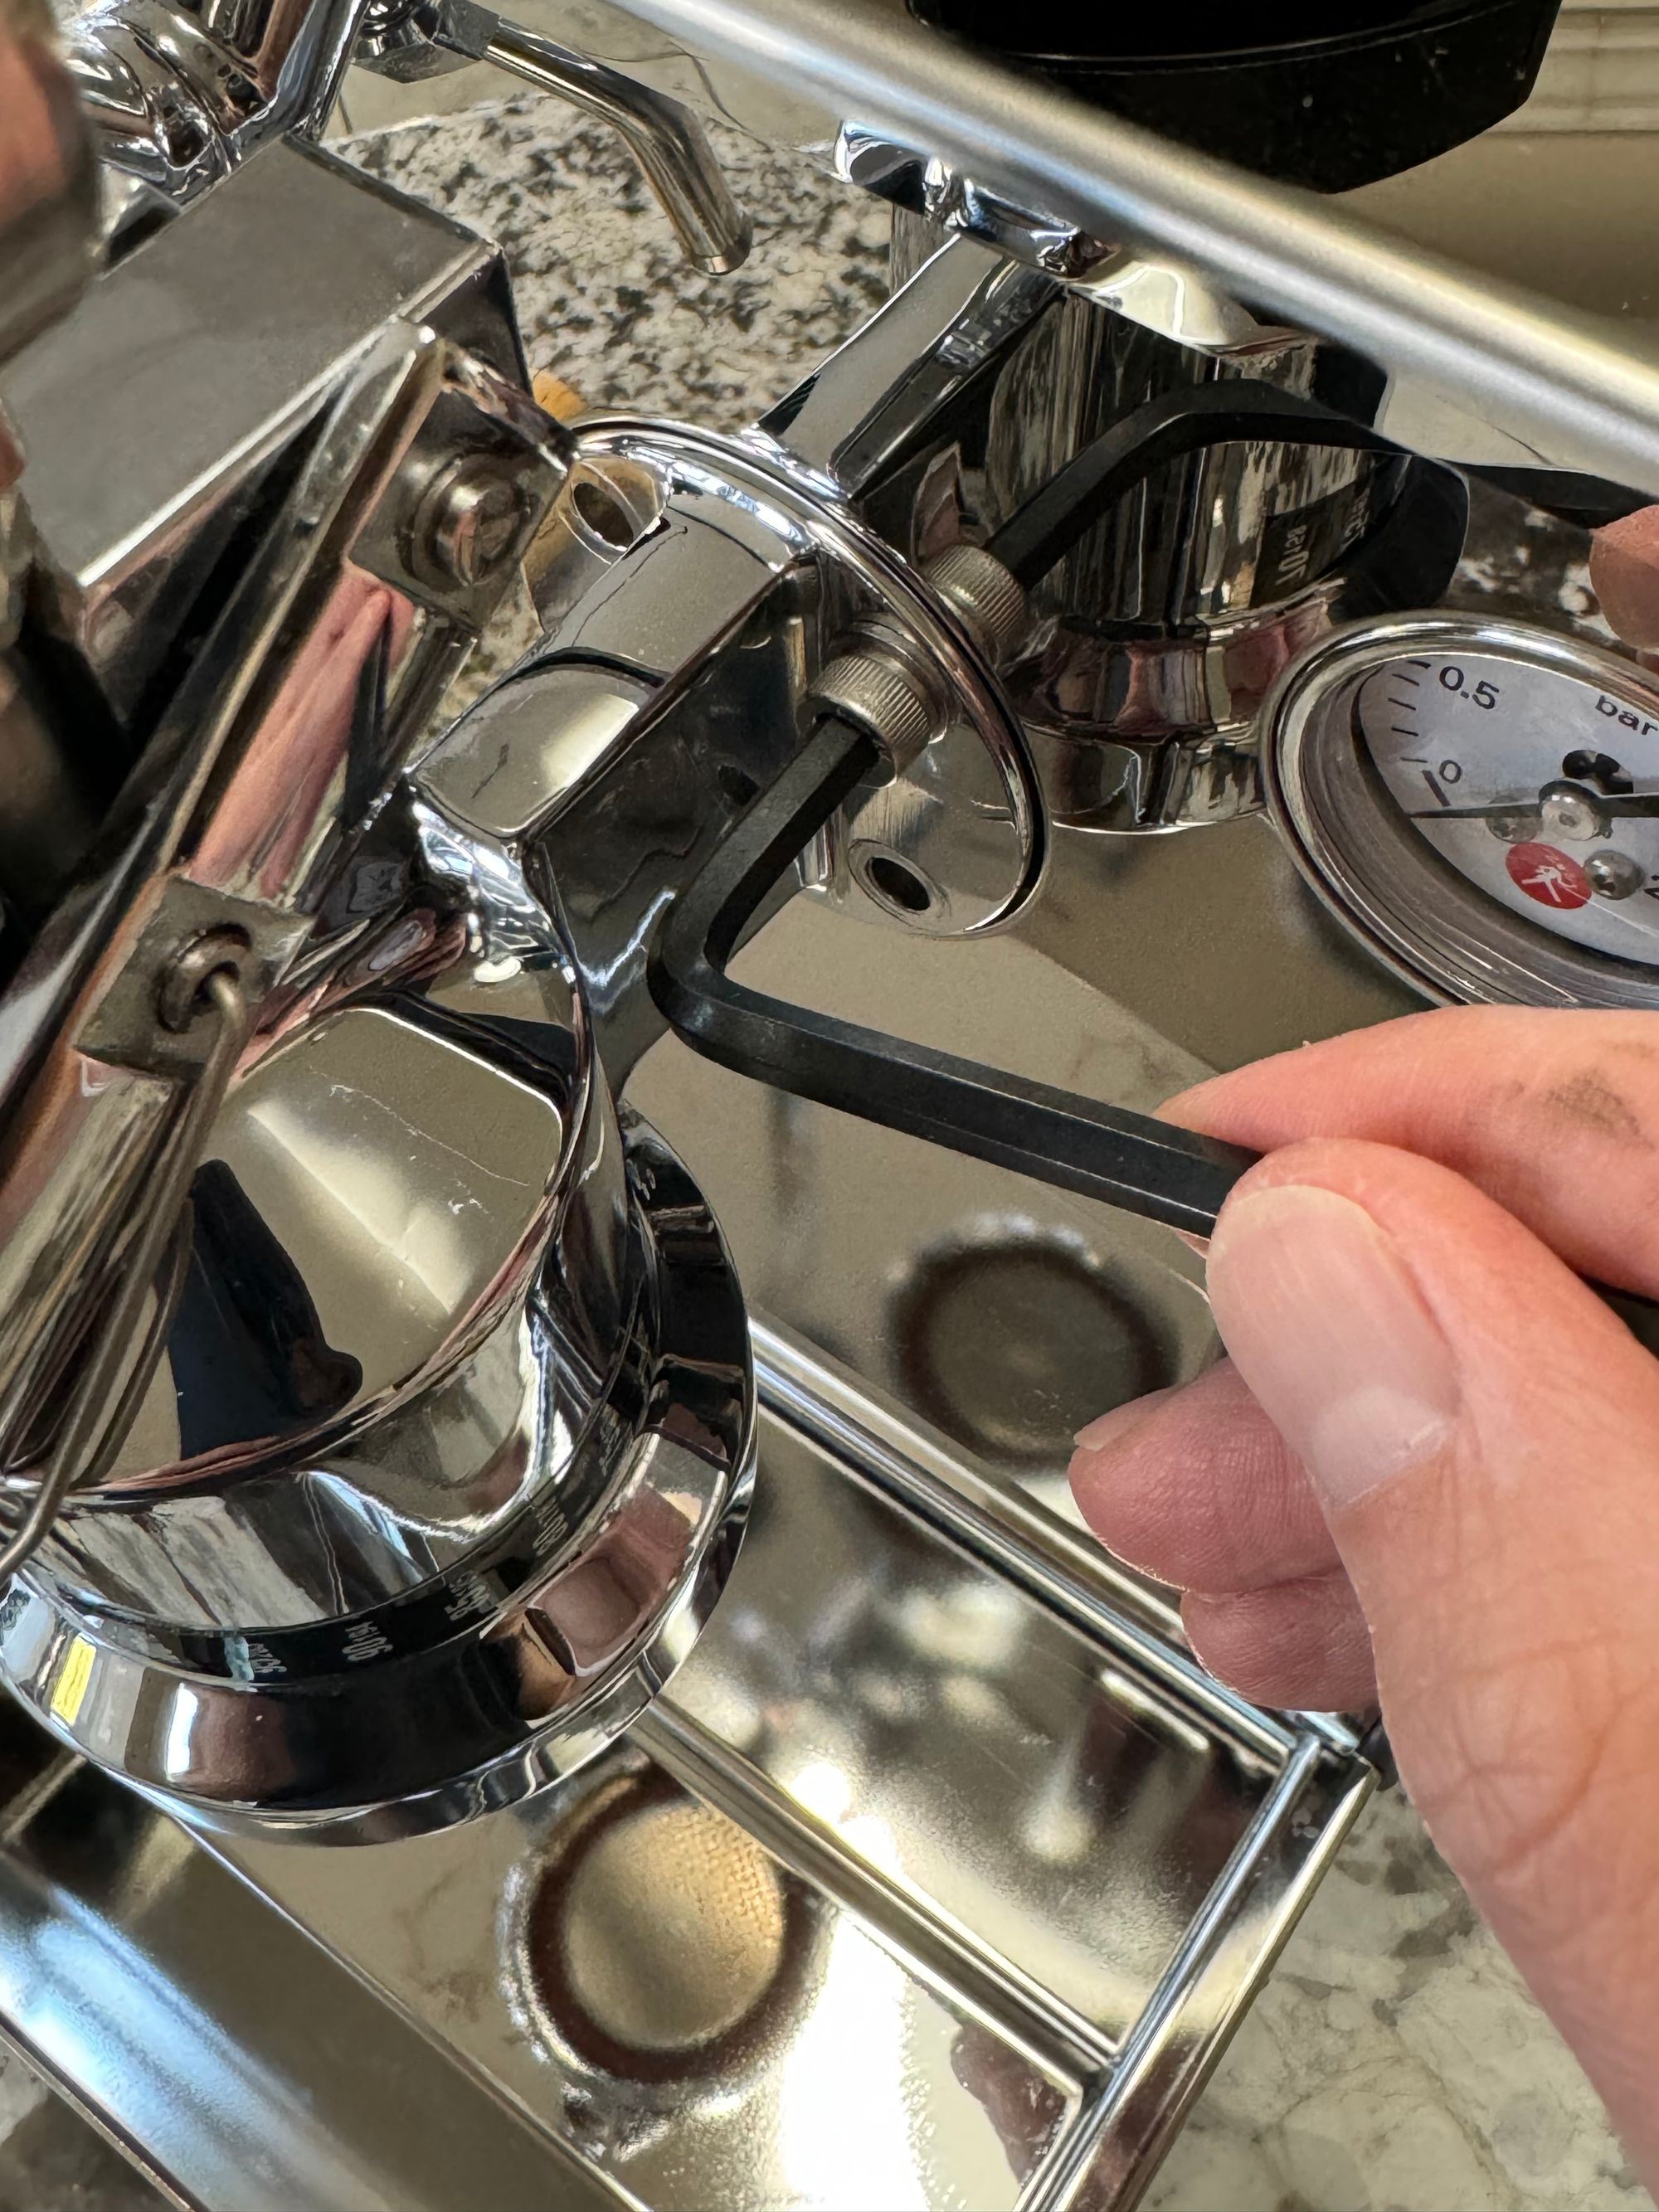
Step 1: Remove The Group
First, I find it helpful to unscrew the lever handle. Then, using a hex key or ball driver, remove the four bolts holding the group assembly in place.
I leave the teflon group attached to the machine (this might need replacing after a few years, I'm guessing), then lie the group down on a towel.
Step 2: Remove The Group Gasket and Shower Screen
Using a sharp pick or screwdriver, carefully pry out the orange gasket. I have not found a reliable way to remove this gasket without poking it and prying it out. In doing so, it becomes damaged and needs replacing.
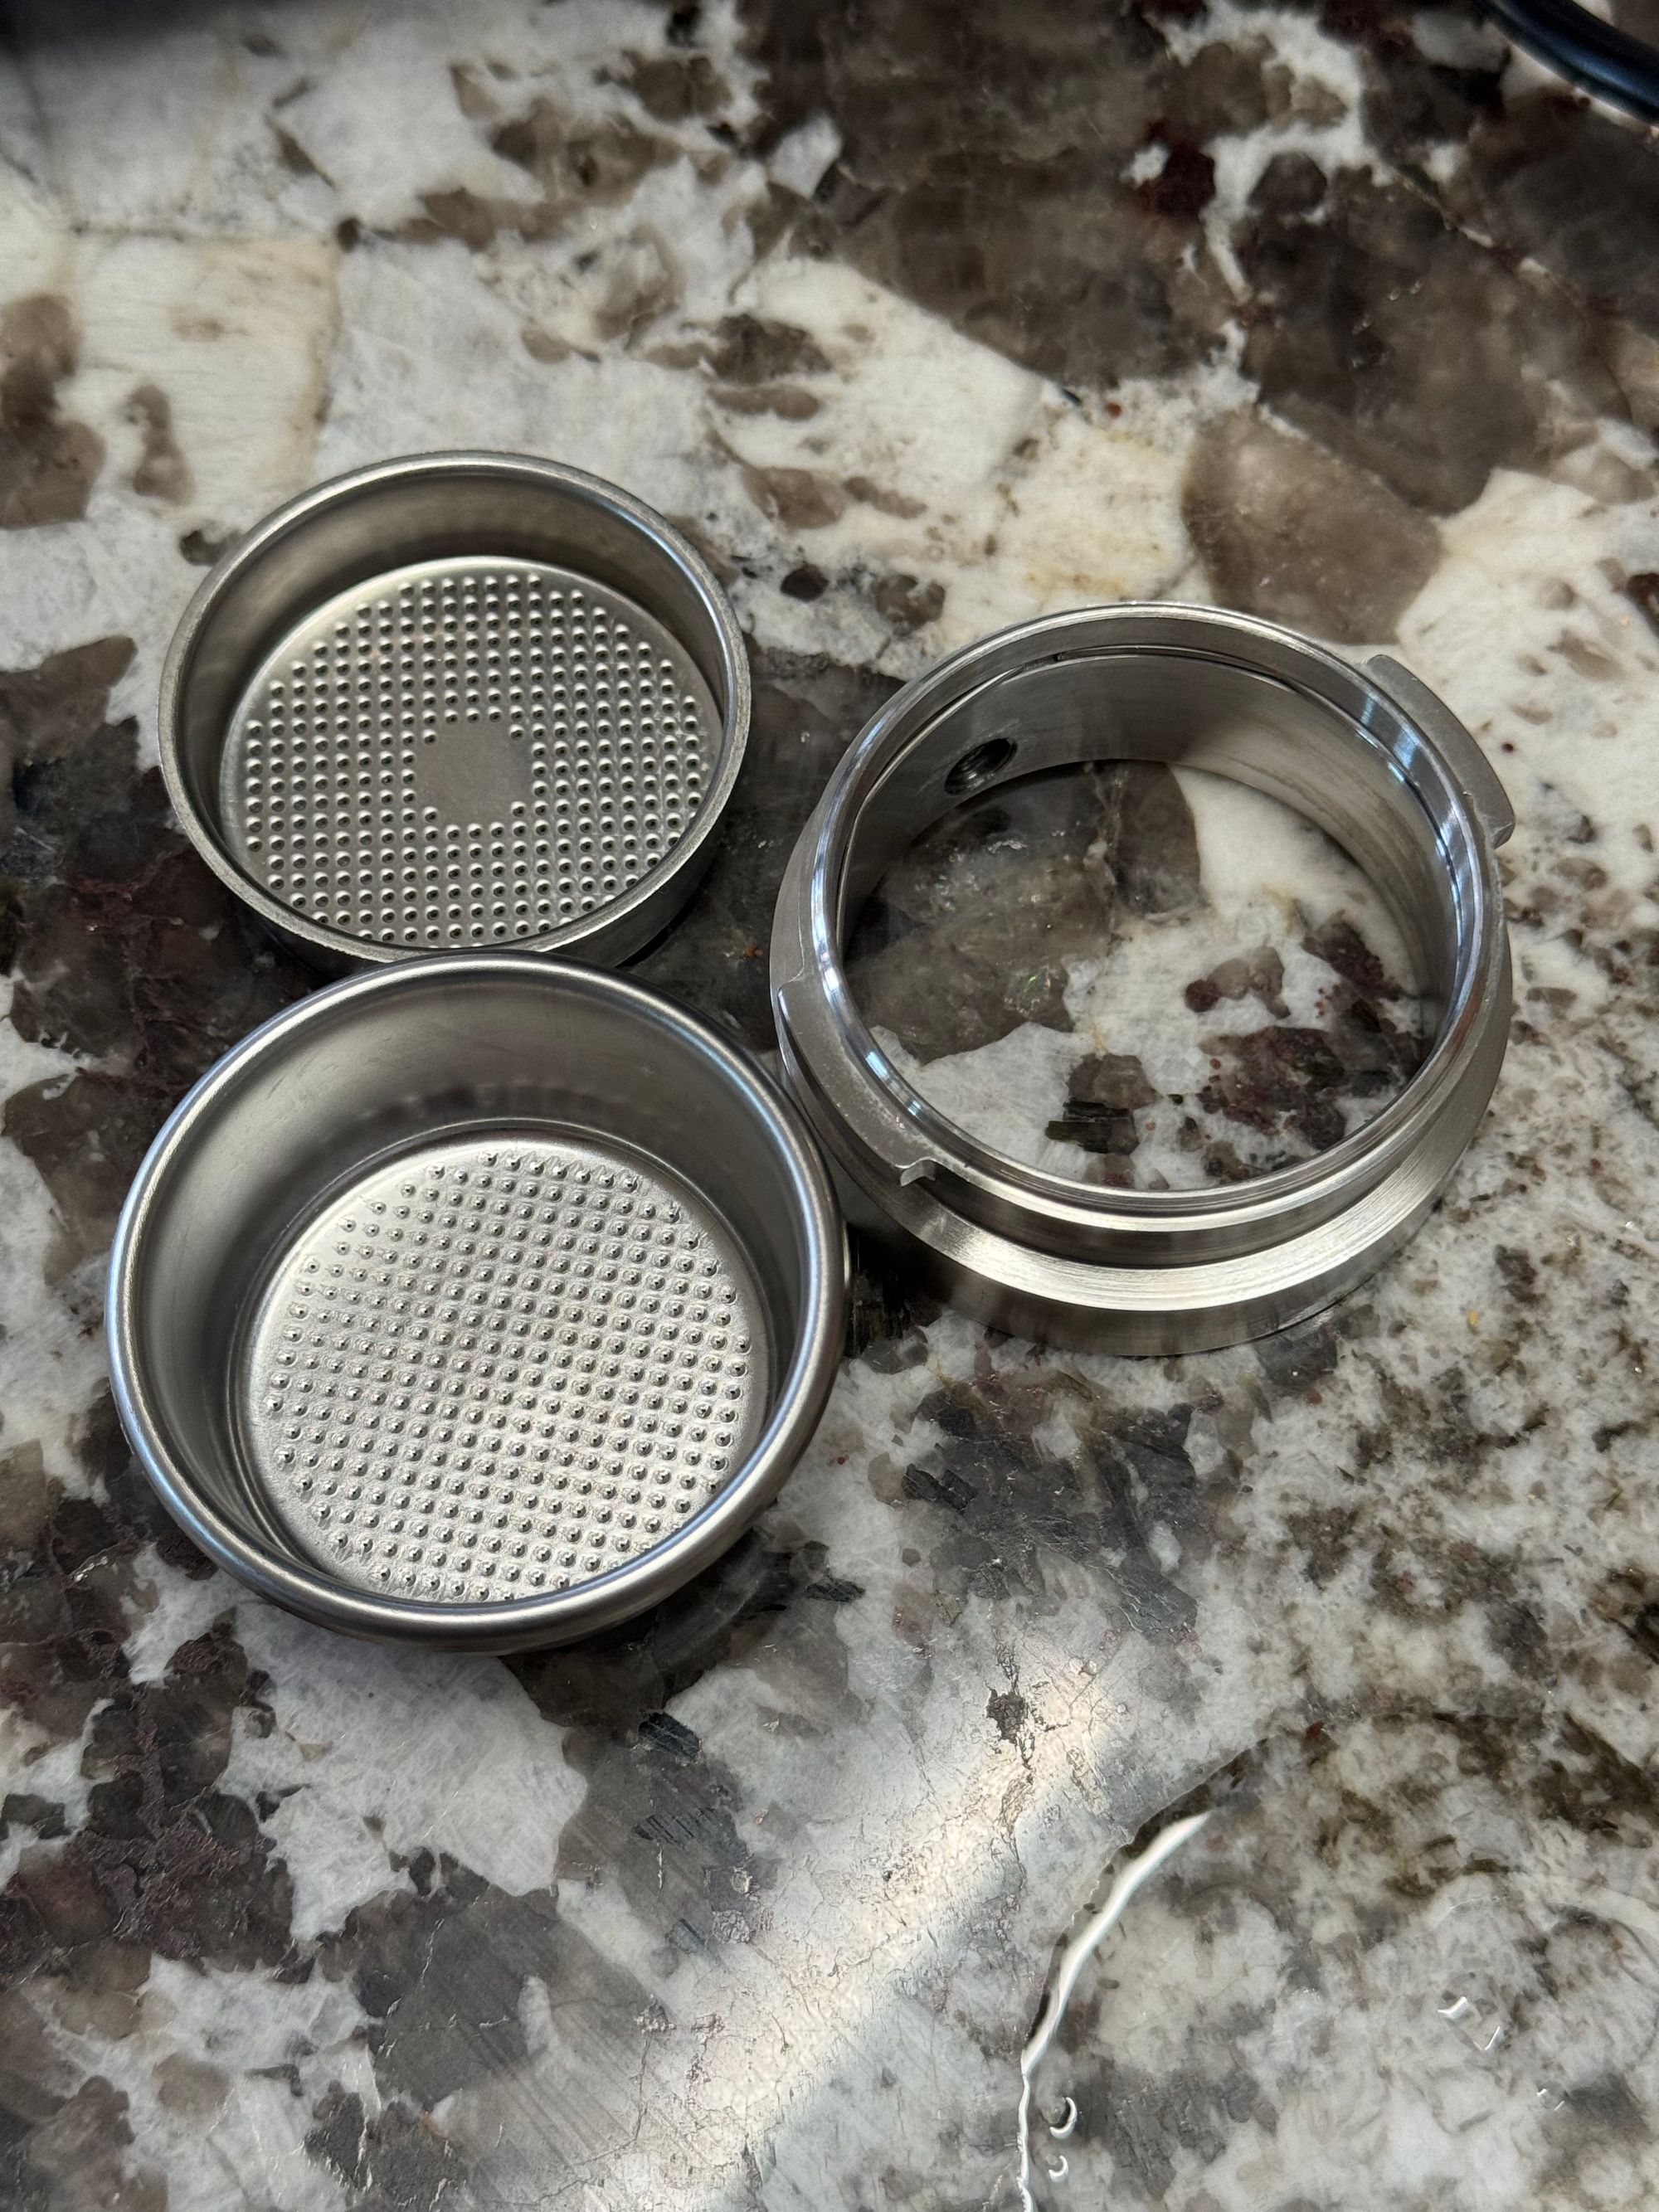
With the gasket removed, the shower screen should almost just fall out. If you press the top of the lever arm down, this can help.
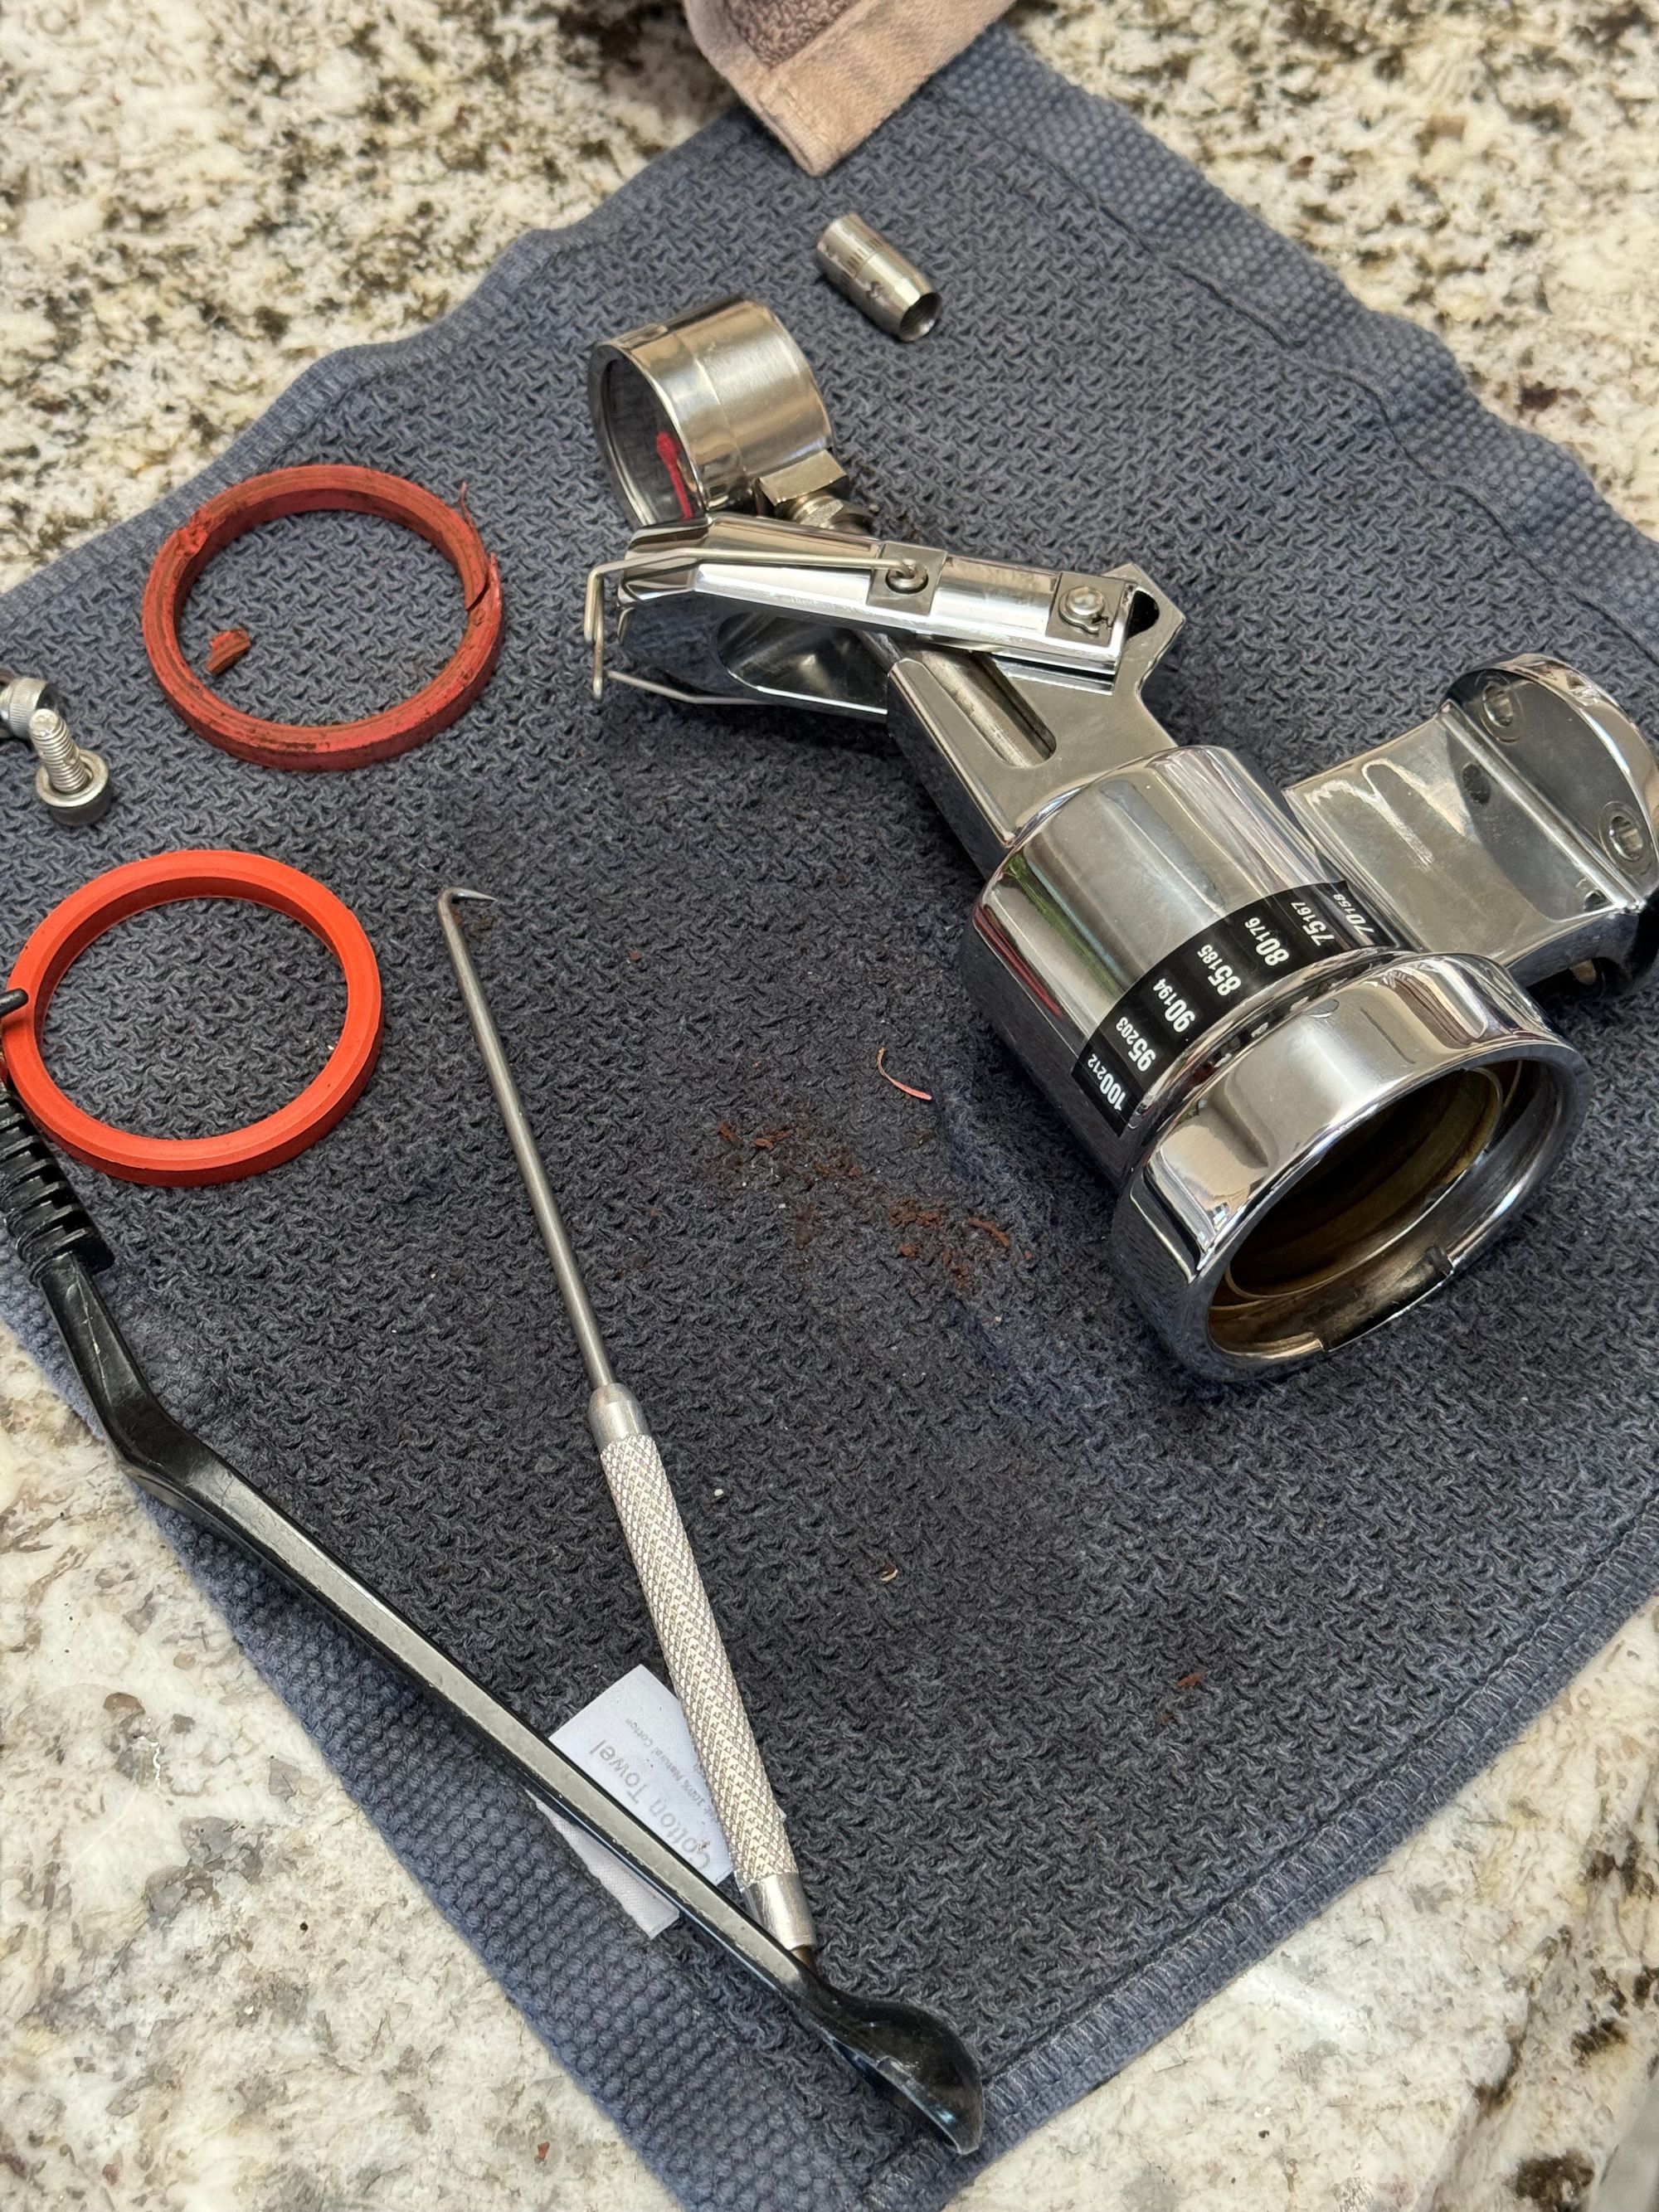
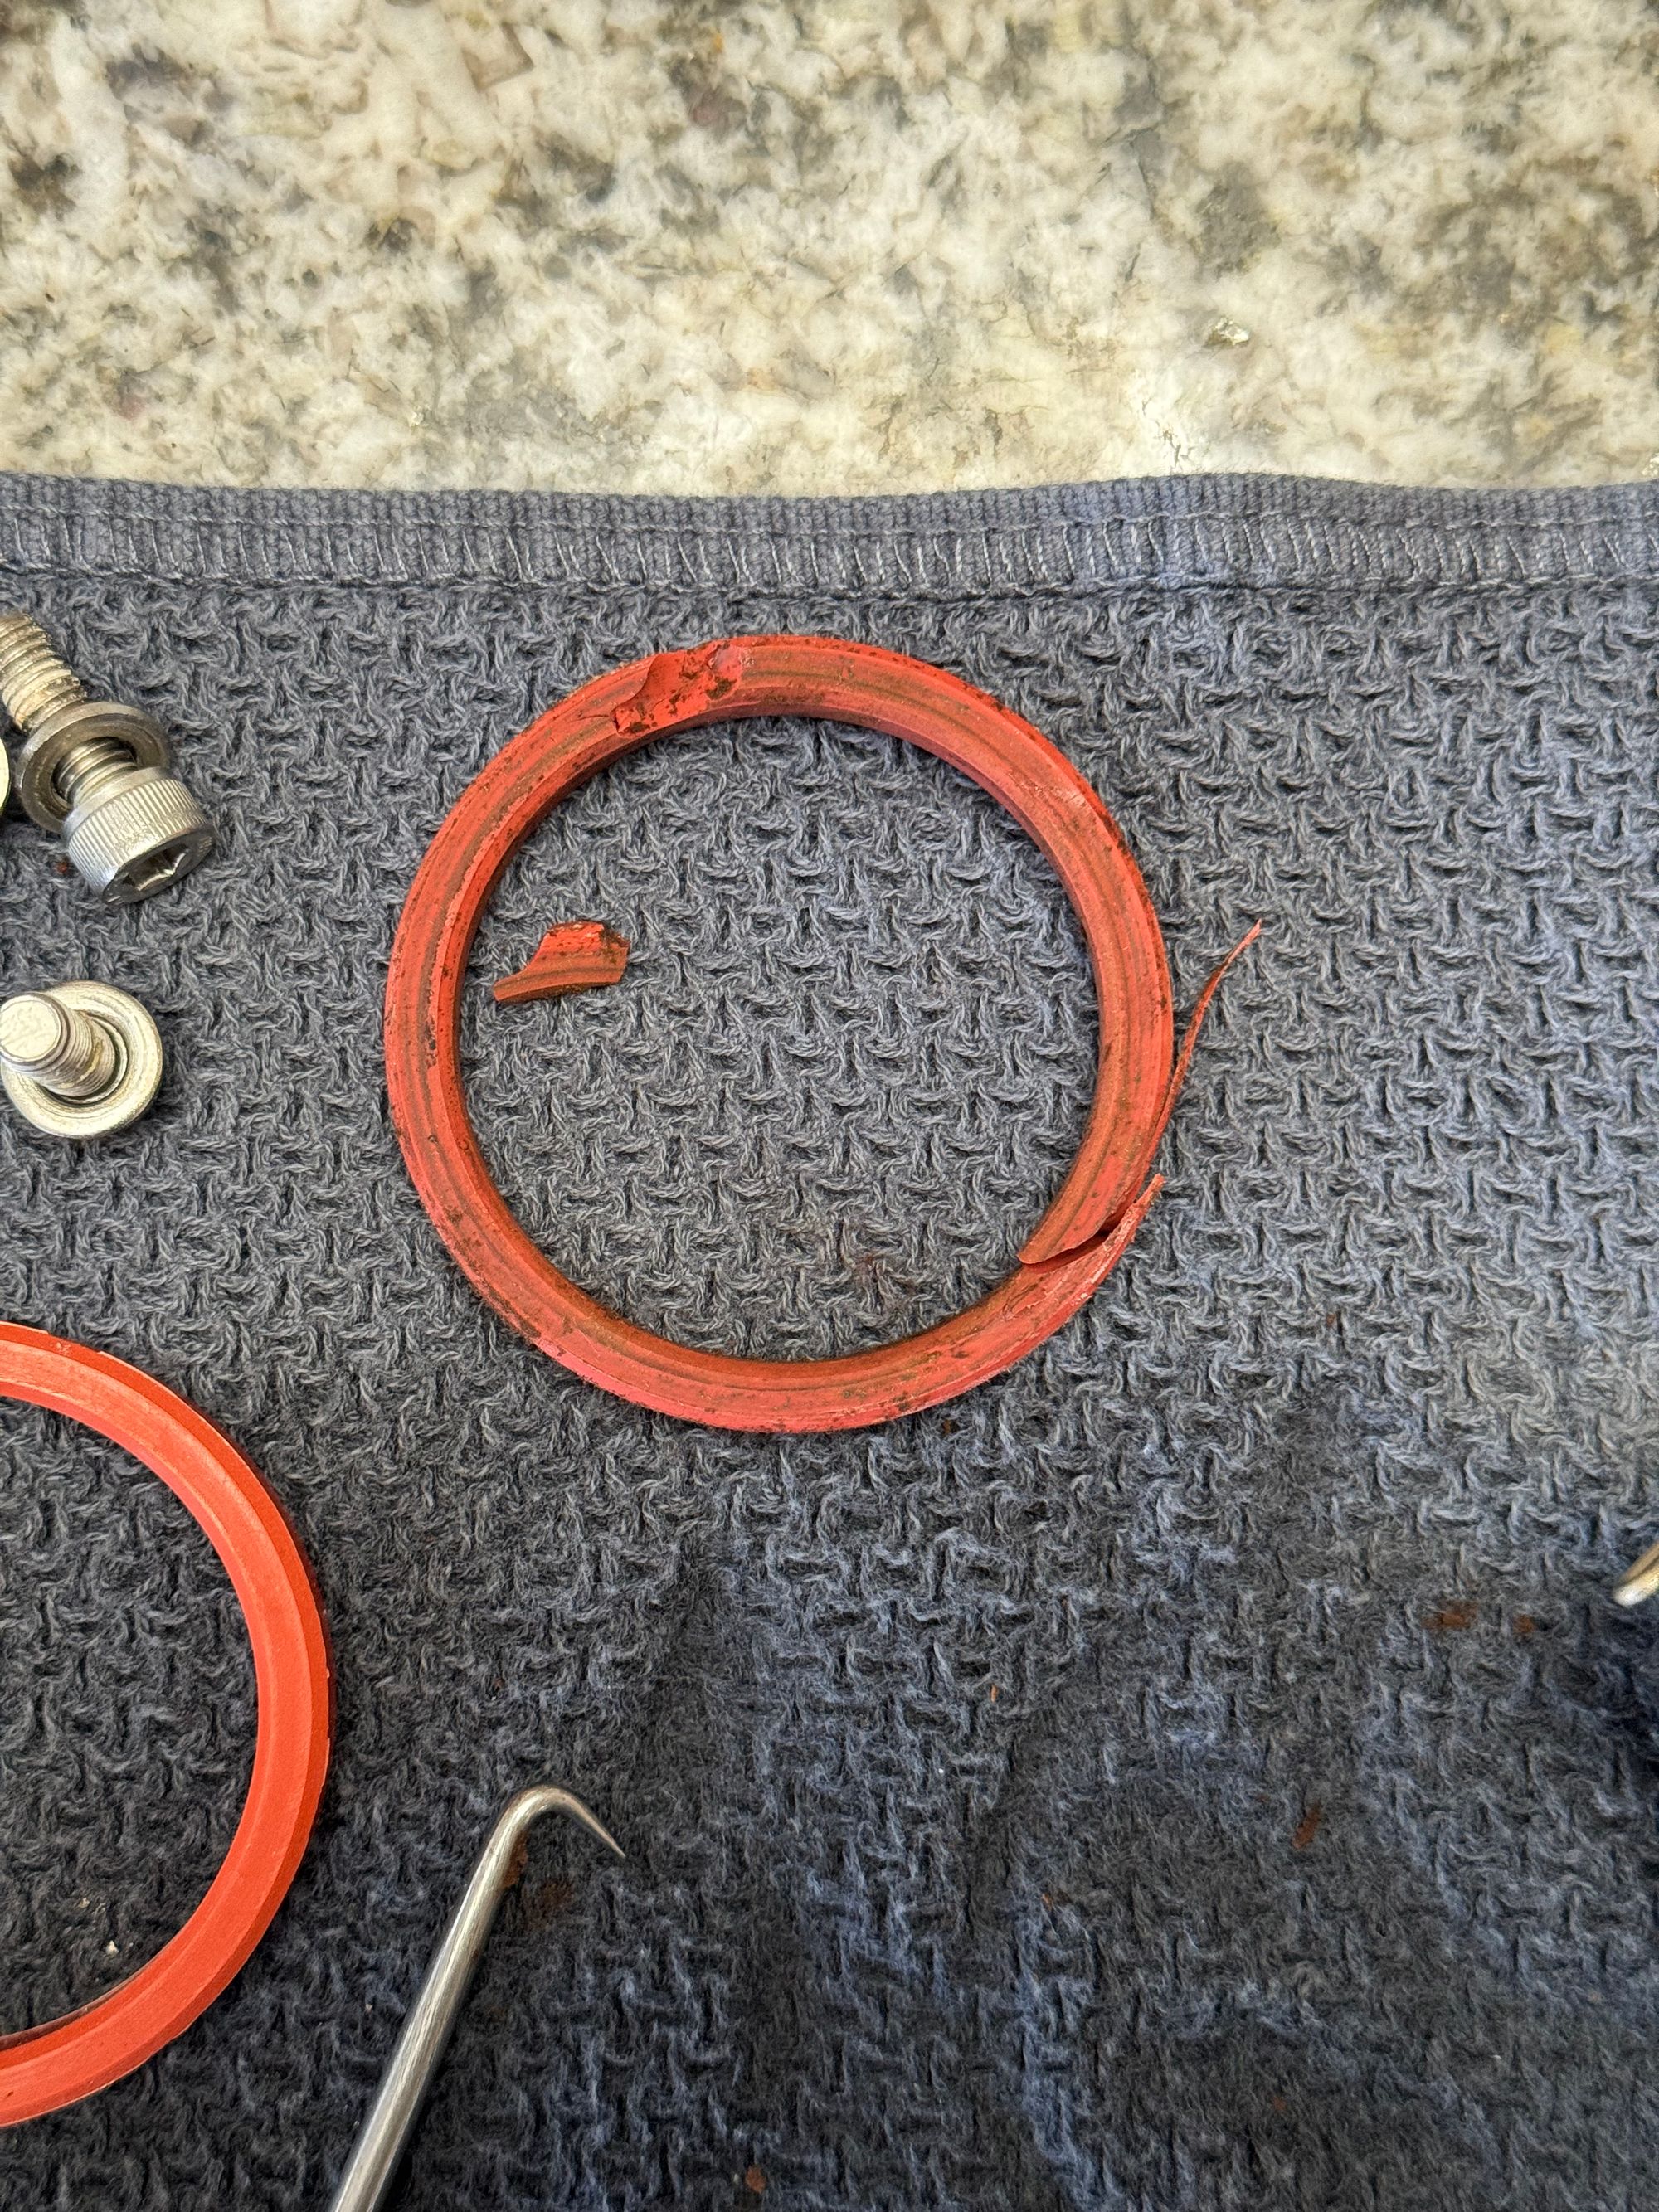
Left: Old gasket and new. Center: gasket and shower screen removed. Right: Old gasket that inevitably gets damaged on removal.
Step 3: Soak Shower Screen, Portafilter, and Milk Frother
Boil a couple cups of water and pour over one teaspoon of Cafiza. Place the shower screen, portafilter head (careful not to have any wood submerged), and milk frother tip inside. Let soak for at least 15, preferably up to 30 minutes.
After this time, use a stiff bristled brush to scrub any coffee residue off.
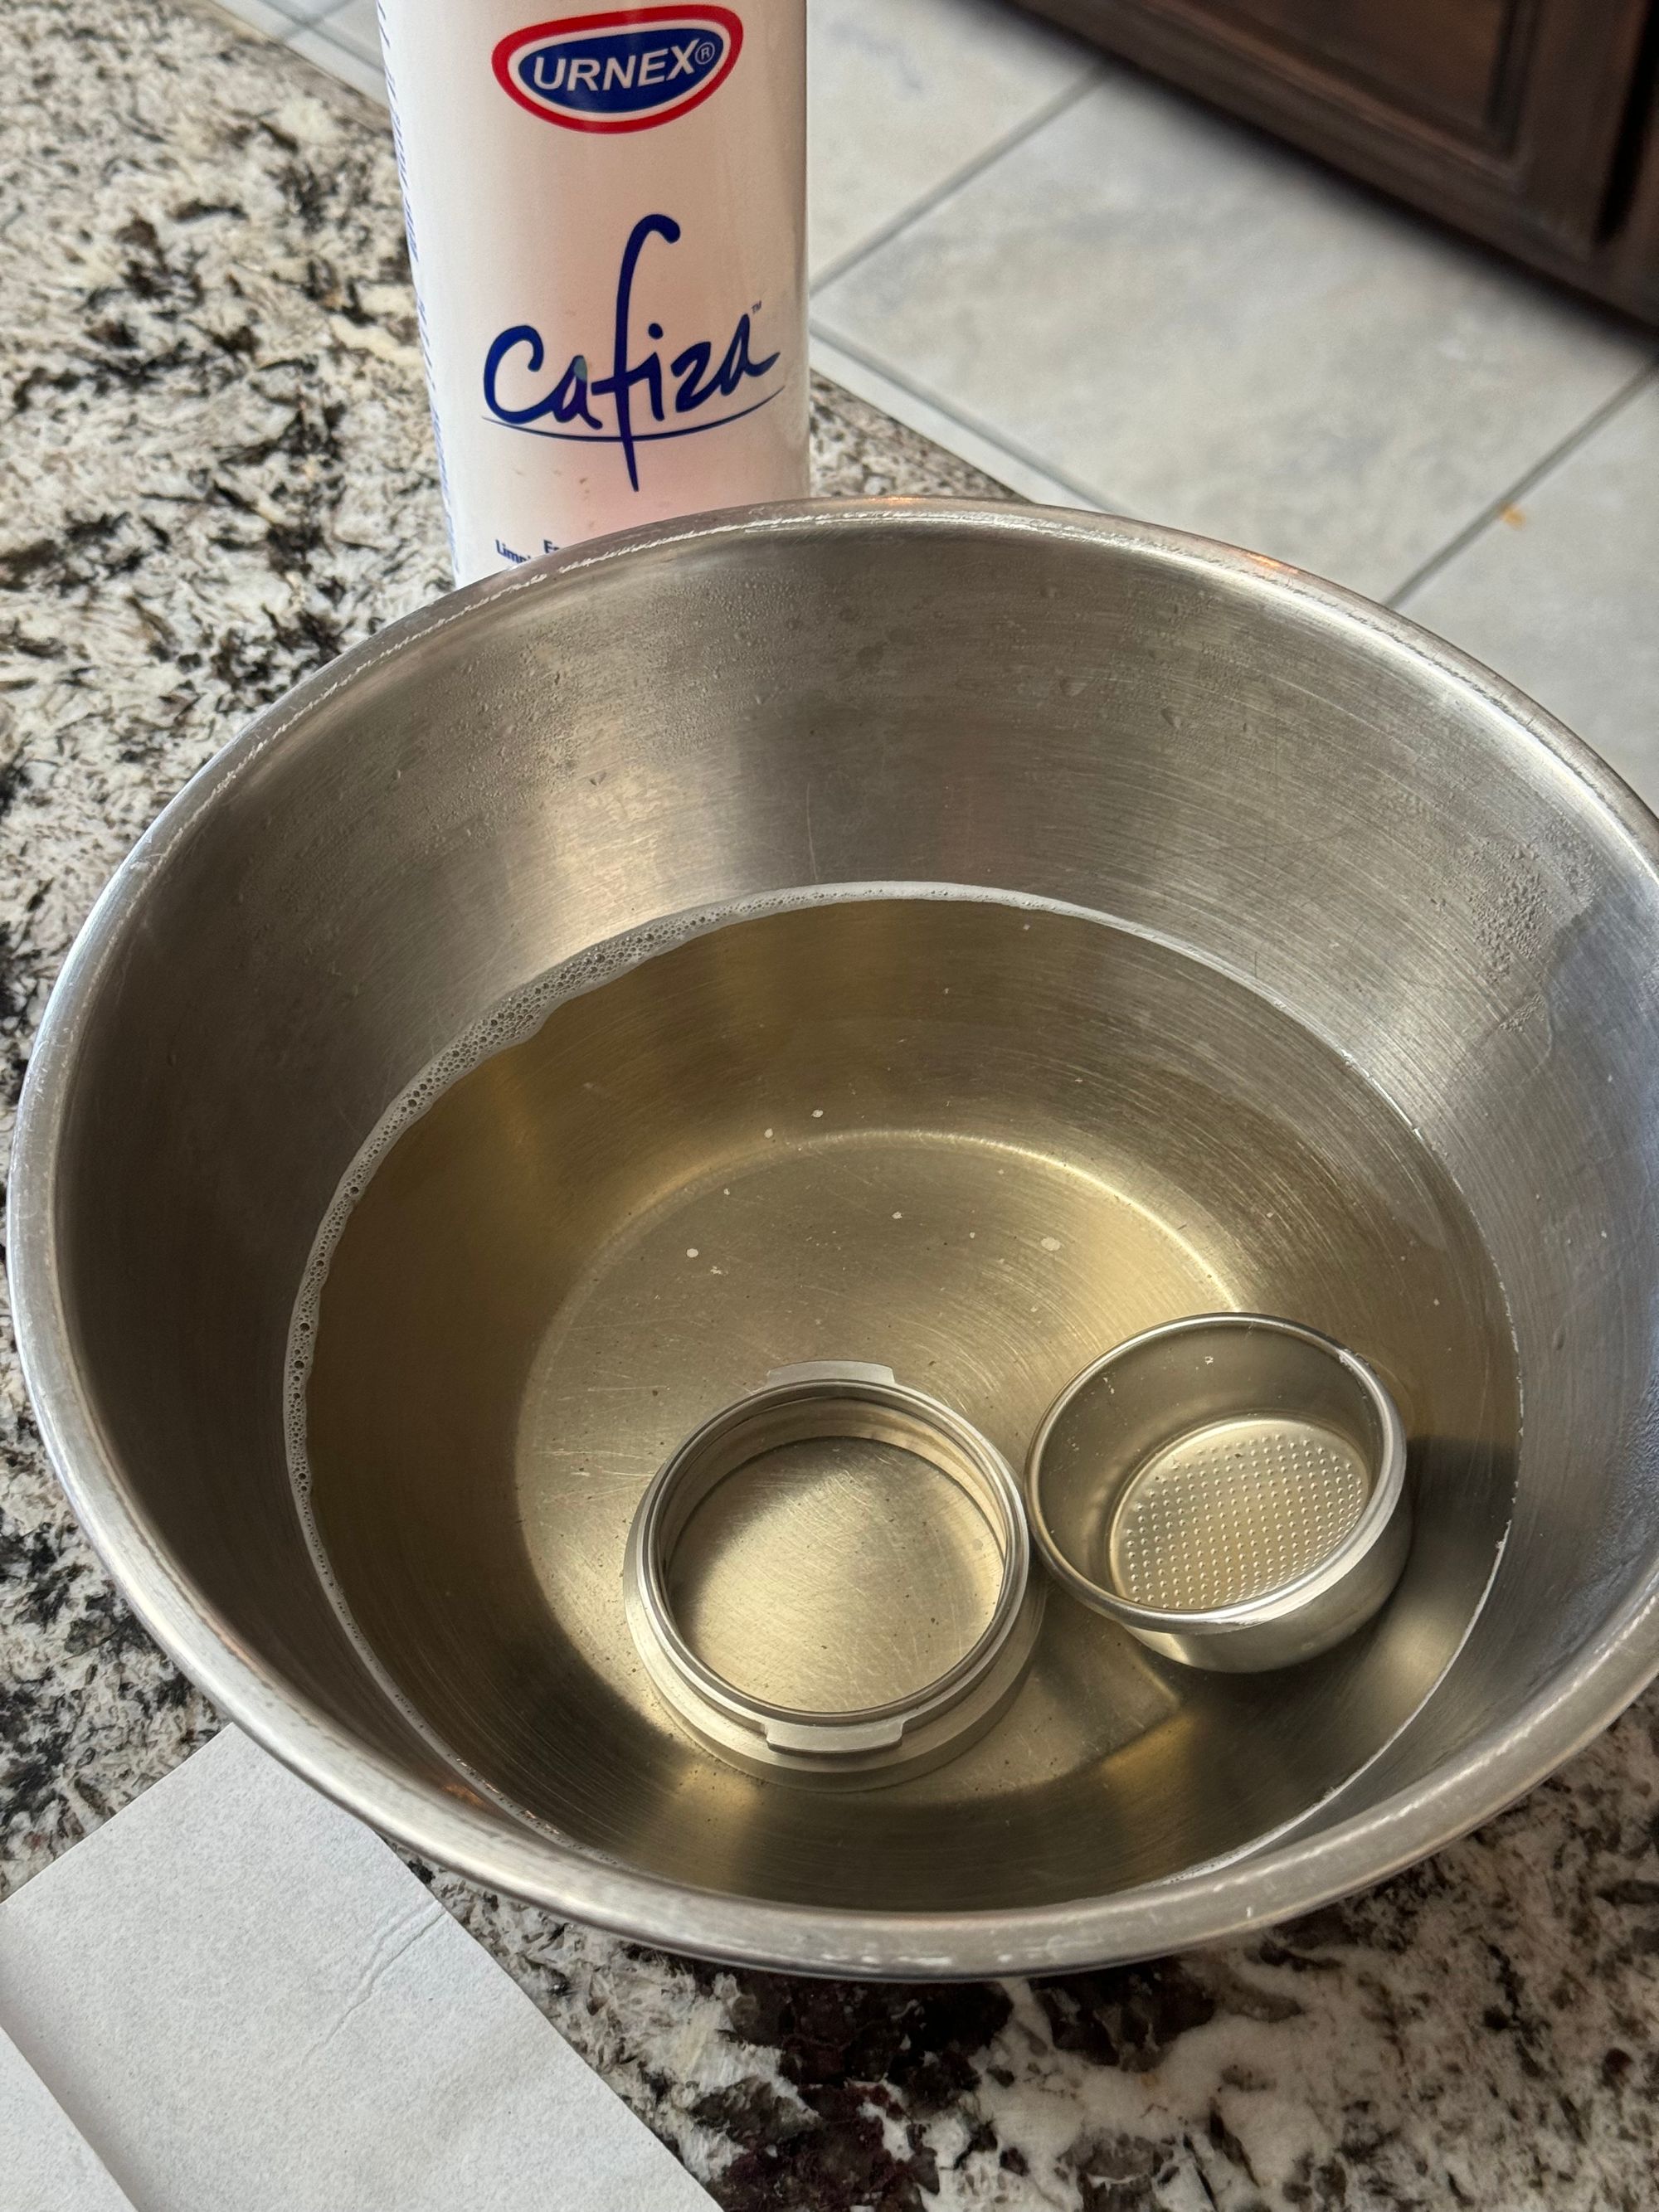
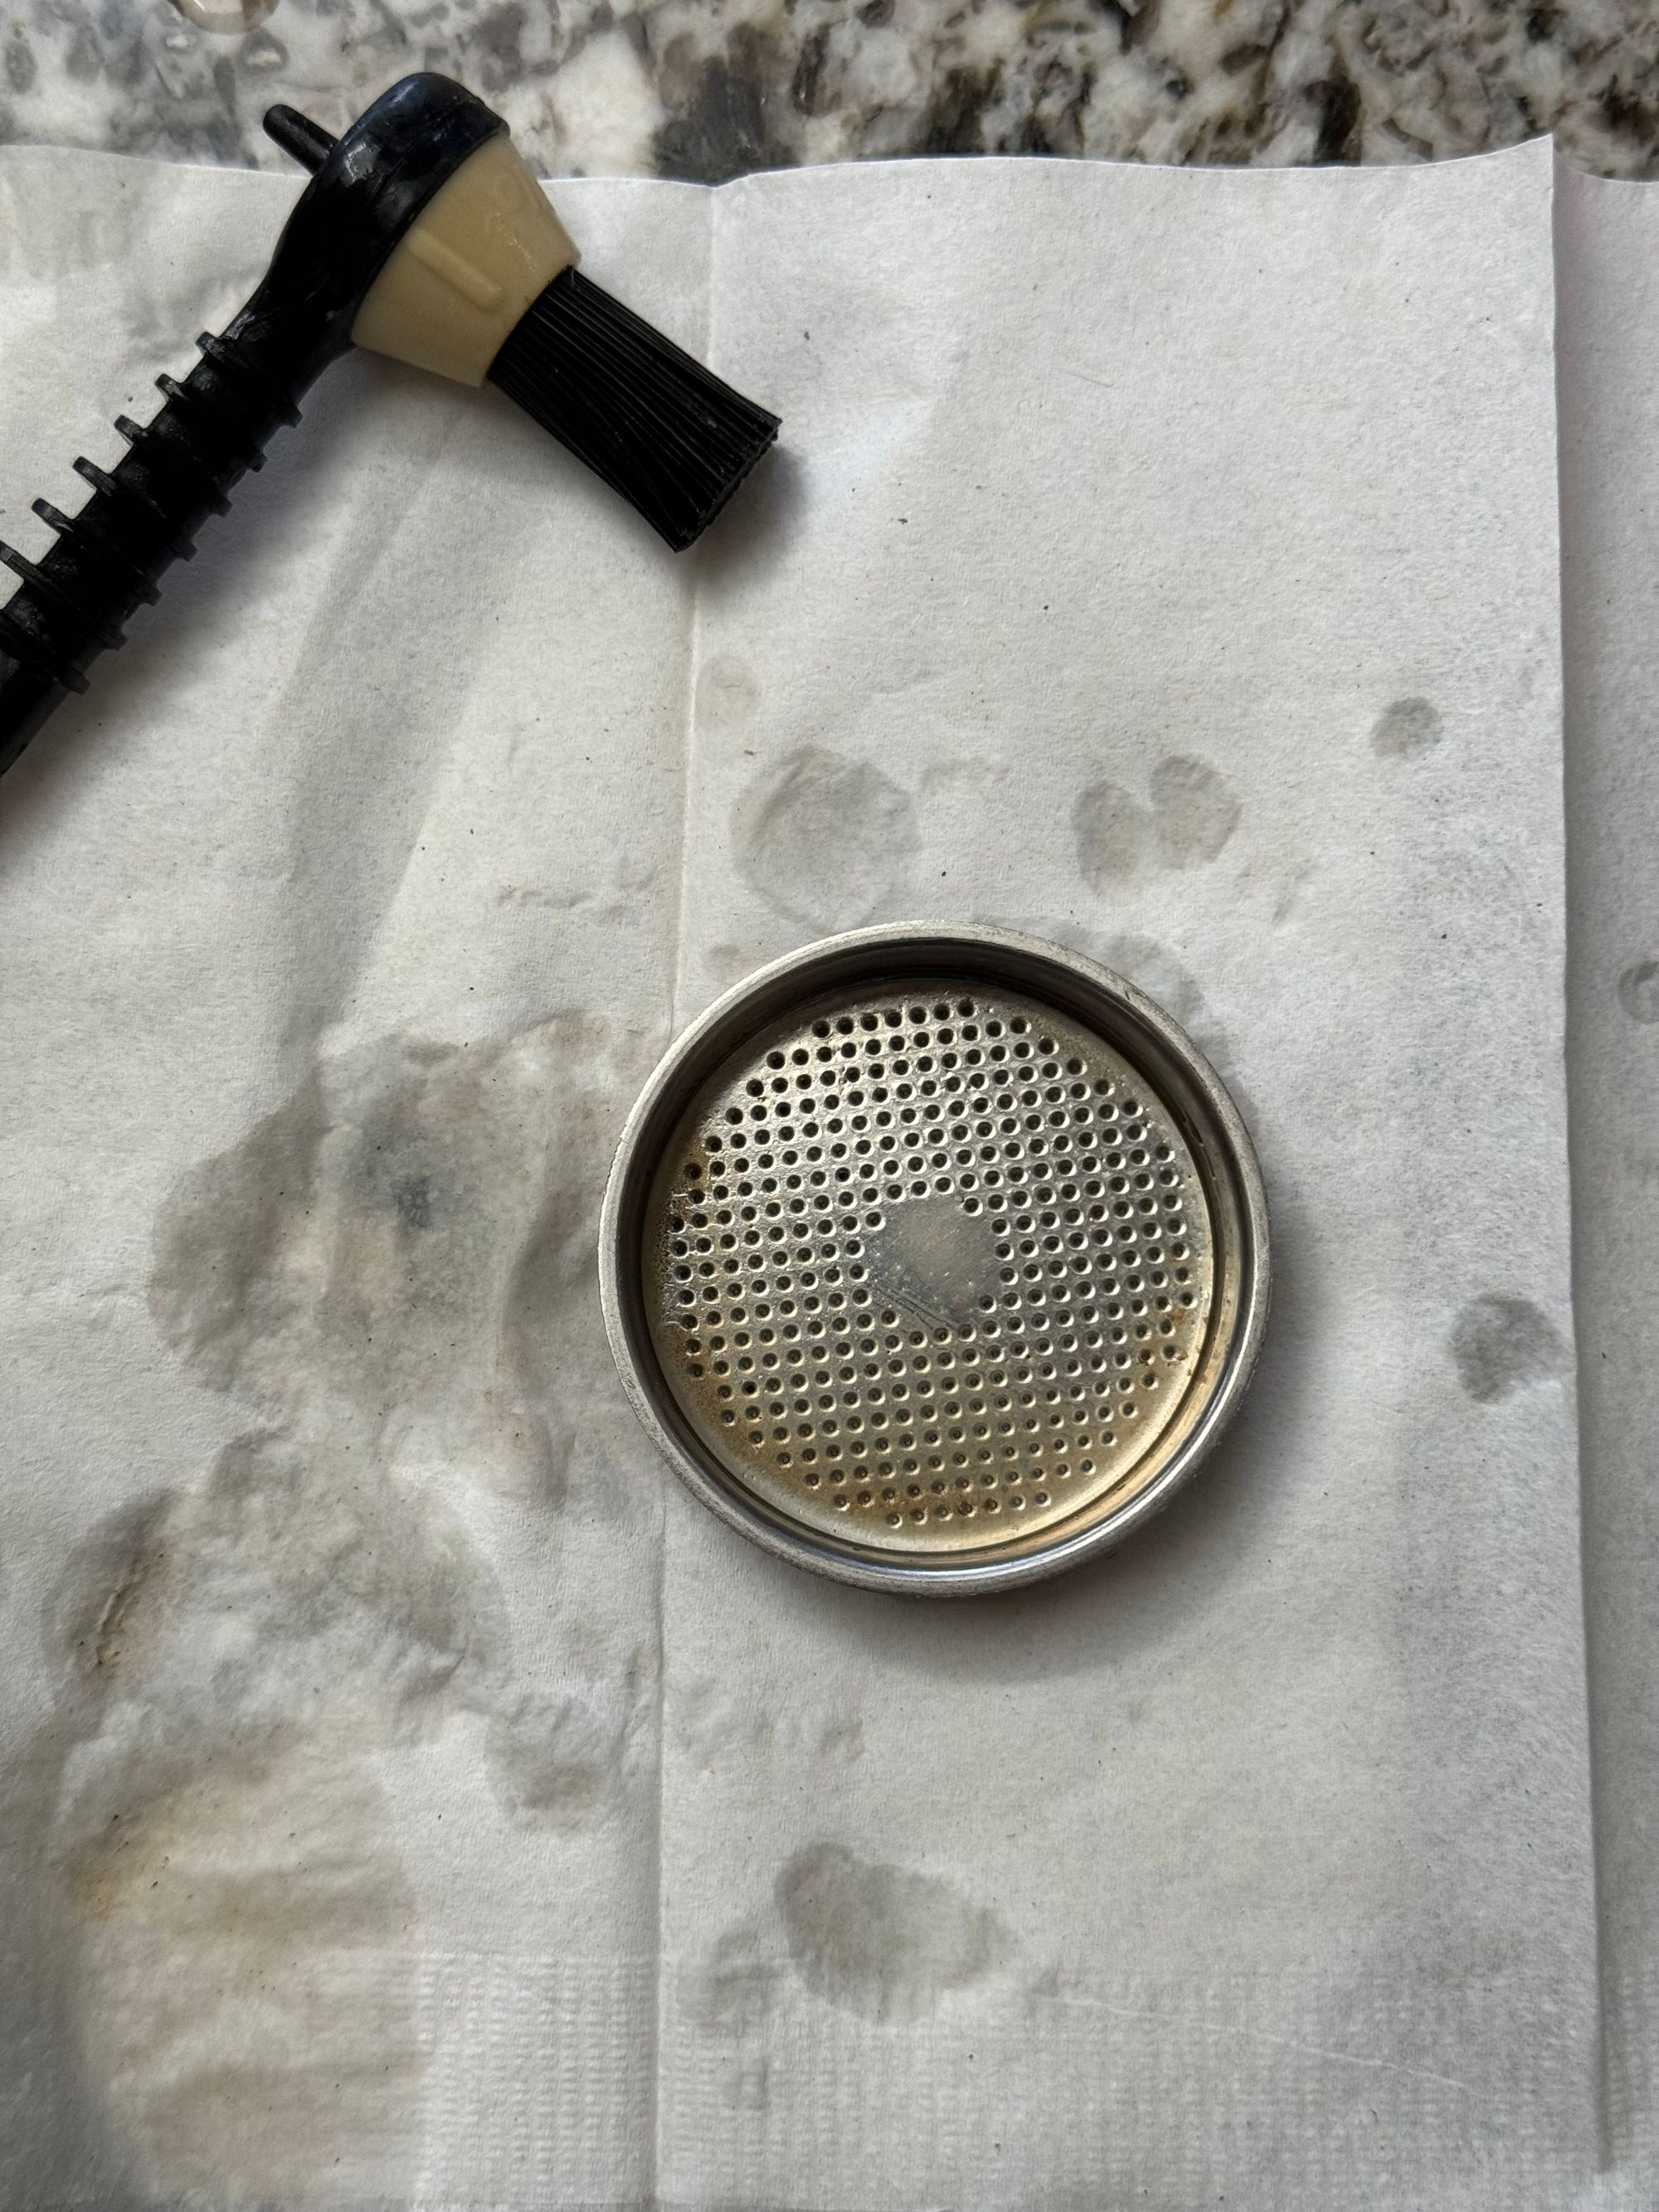
Left: soaking parts in Cafiza for 30 minutes. Center: scrubbing coffee off shower screen. Right: all clean.
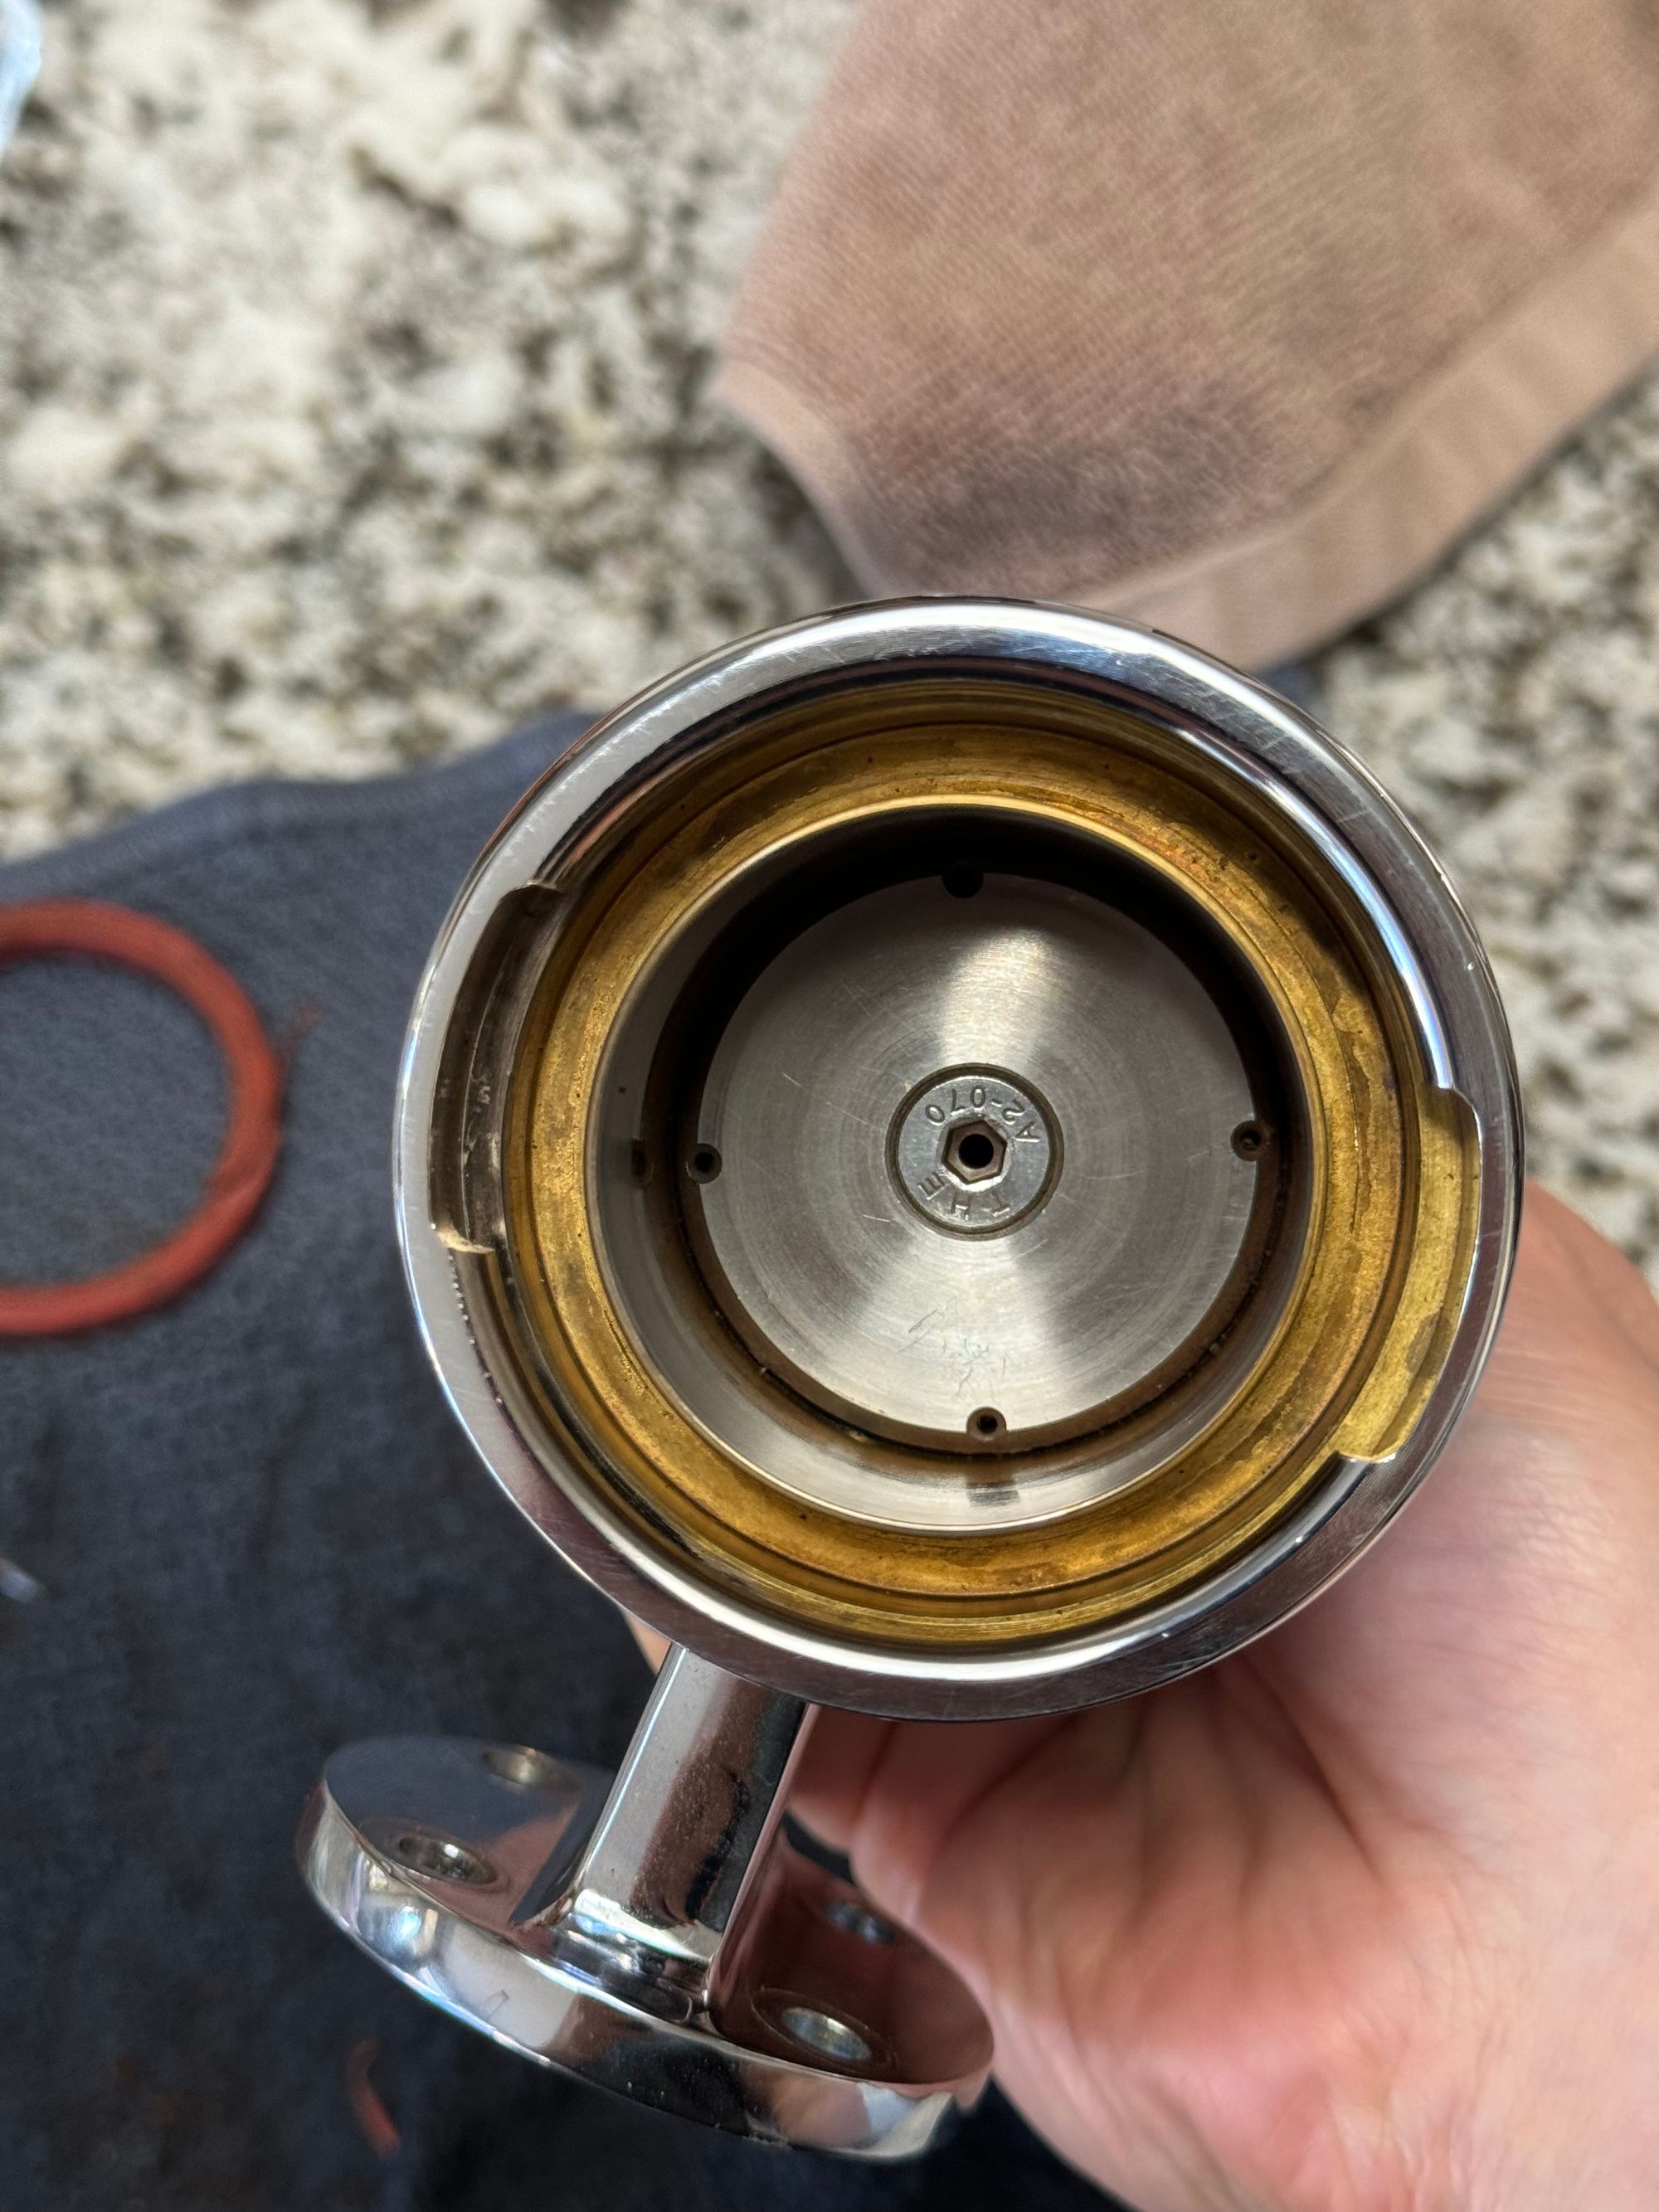
Step 4: Brush and Clean Out Group Head
While the parts are soaking, use a towel and brush to clean out all the parts on the bottom of the group head.
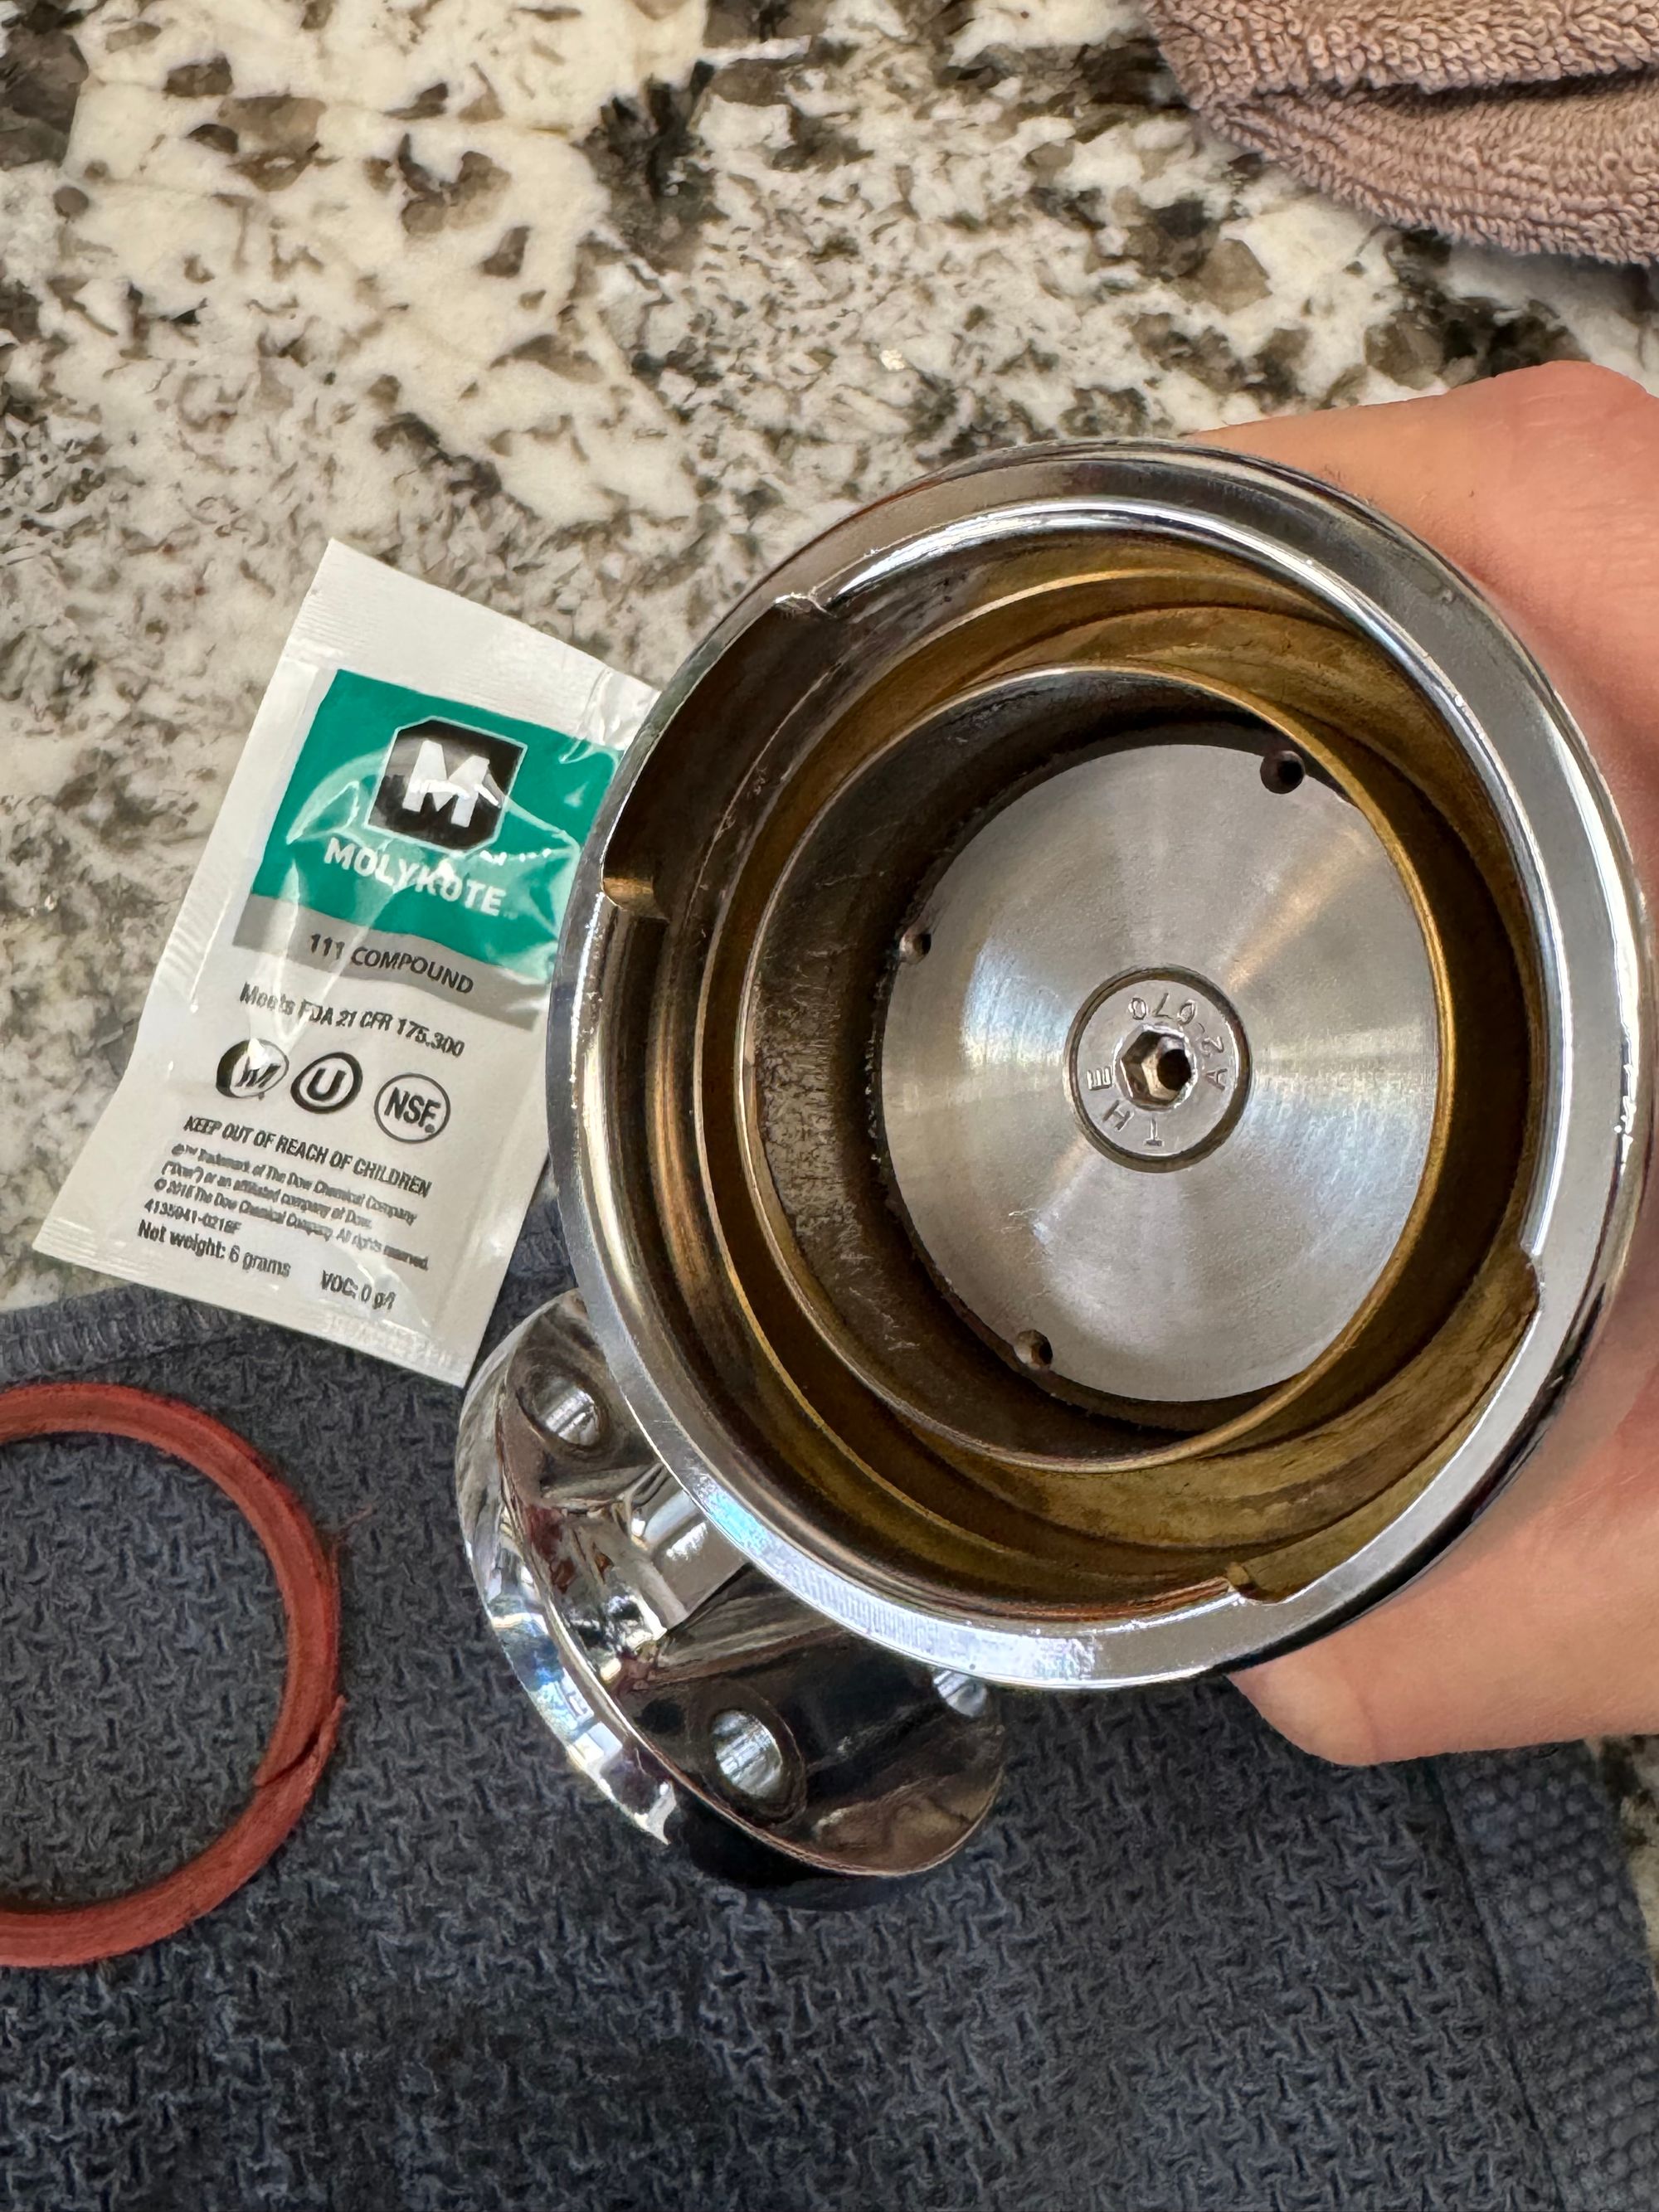
Pull the lever up and clean out the sticky lubricant inside the piston. I wipe all the lubricant out until it's spotless.
Then, use your brush and towel to scrape and remove any coffee bits hanging around on the outside of the piston shaft.
Step 5: Lubricate the Piston
With the lever up, spread about one finger's worth of 111 compound into the piston shaft. In the image below, you can see the sticky lubricant around the silver piston.
Then, grab the lever, pull it down, and push it back up to help the lubricant spread throughout the shaft. It should initially be a little hard to move, then move fluidly as the piston becomes lubricated.
Step 6: Replace the Shower Screen and Gasket
Once the shower screen and other parts have soaked and you've scrubbed them clean, it's time to put them back into place.
Place the shower screen over the piston and push it into place. Then, put the gasket around the shower screen.
Note that the gasket is directional; be sure the side with tapered edges is facing you when you seat it around the screen.
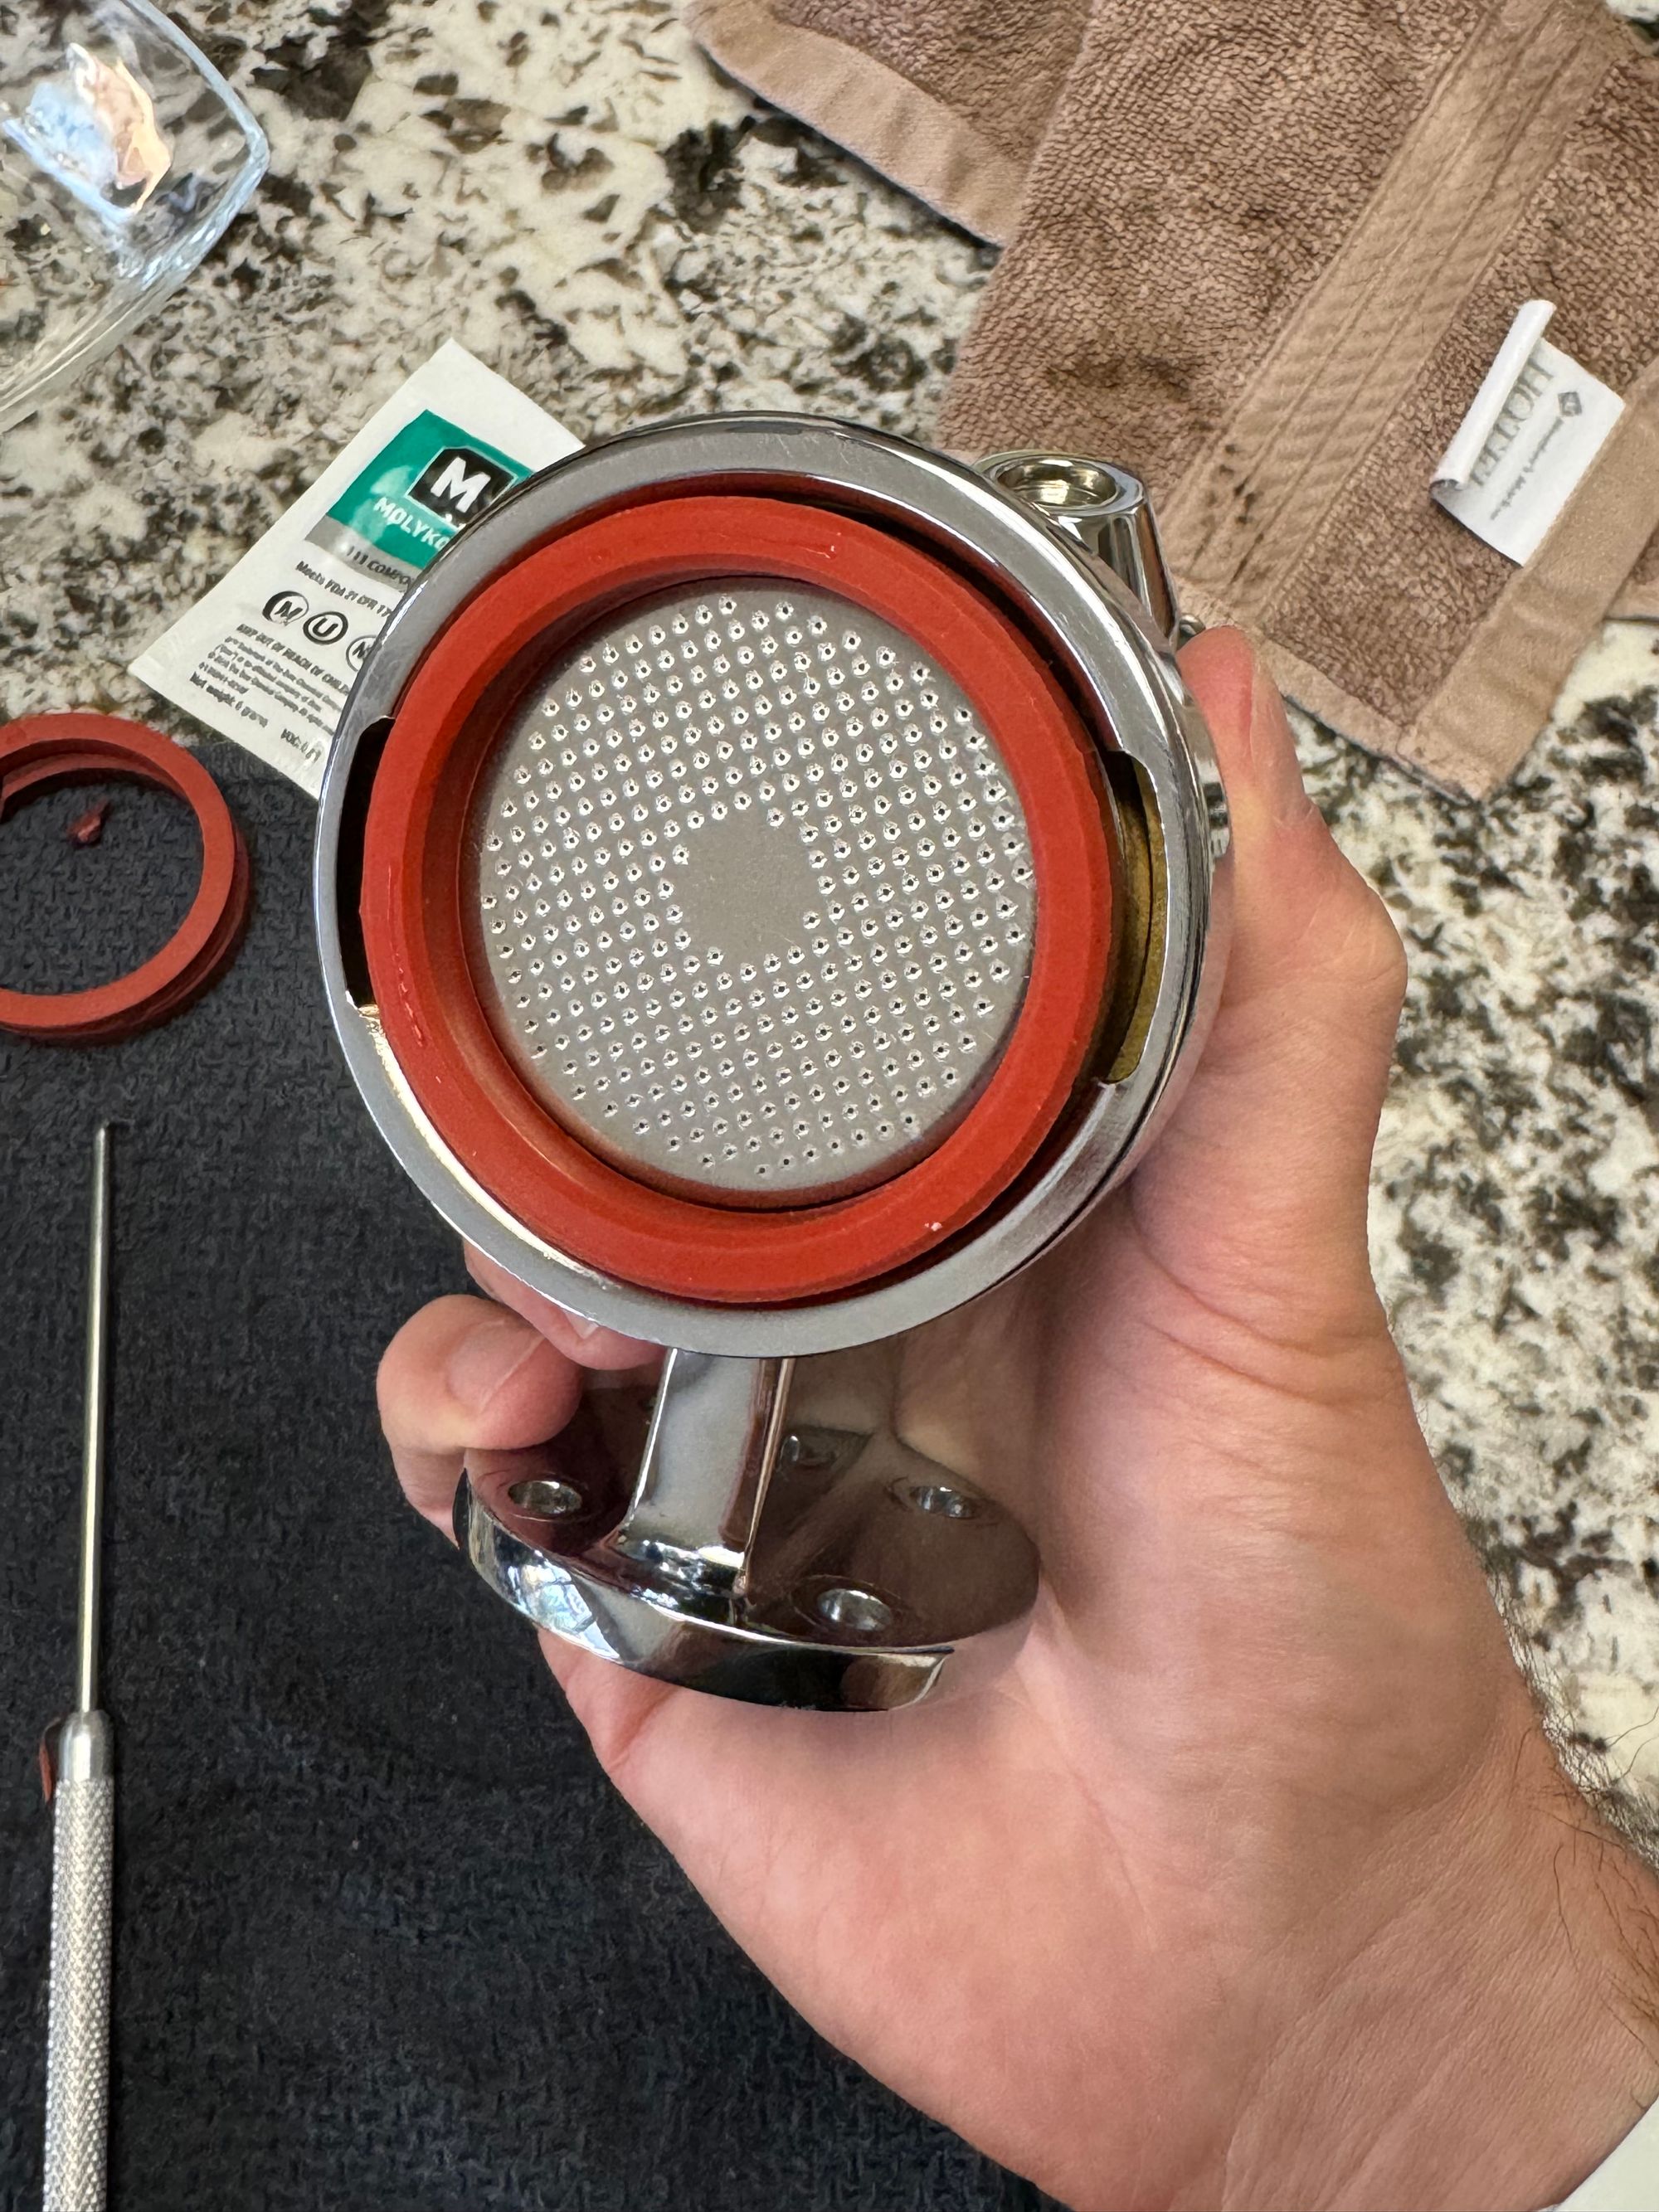
Use a blunt object (I use the backside of the pick) to push the gasket firmly into place.
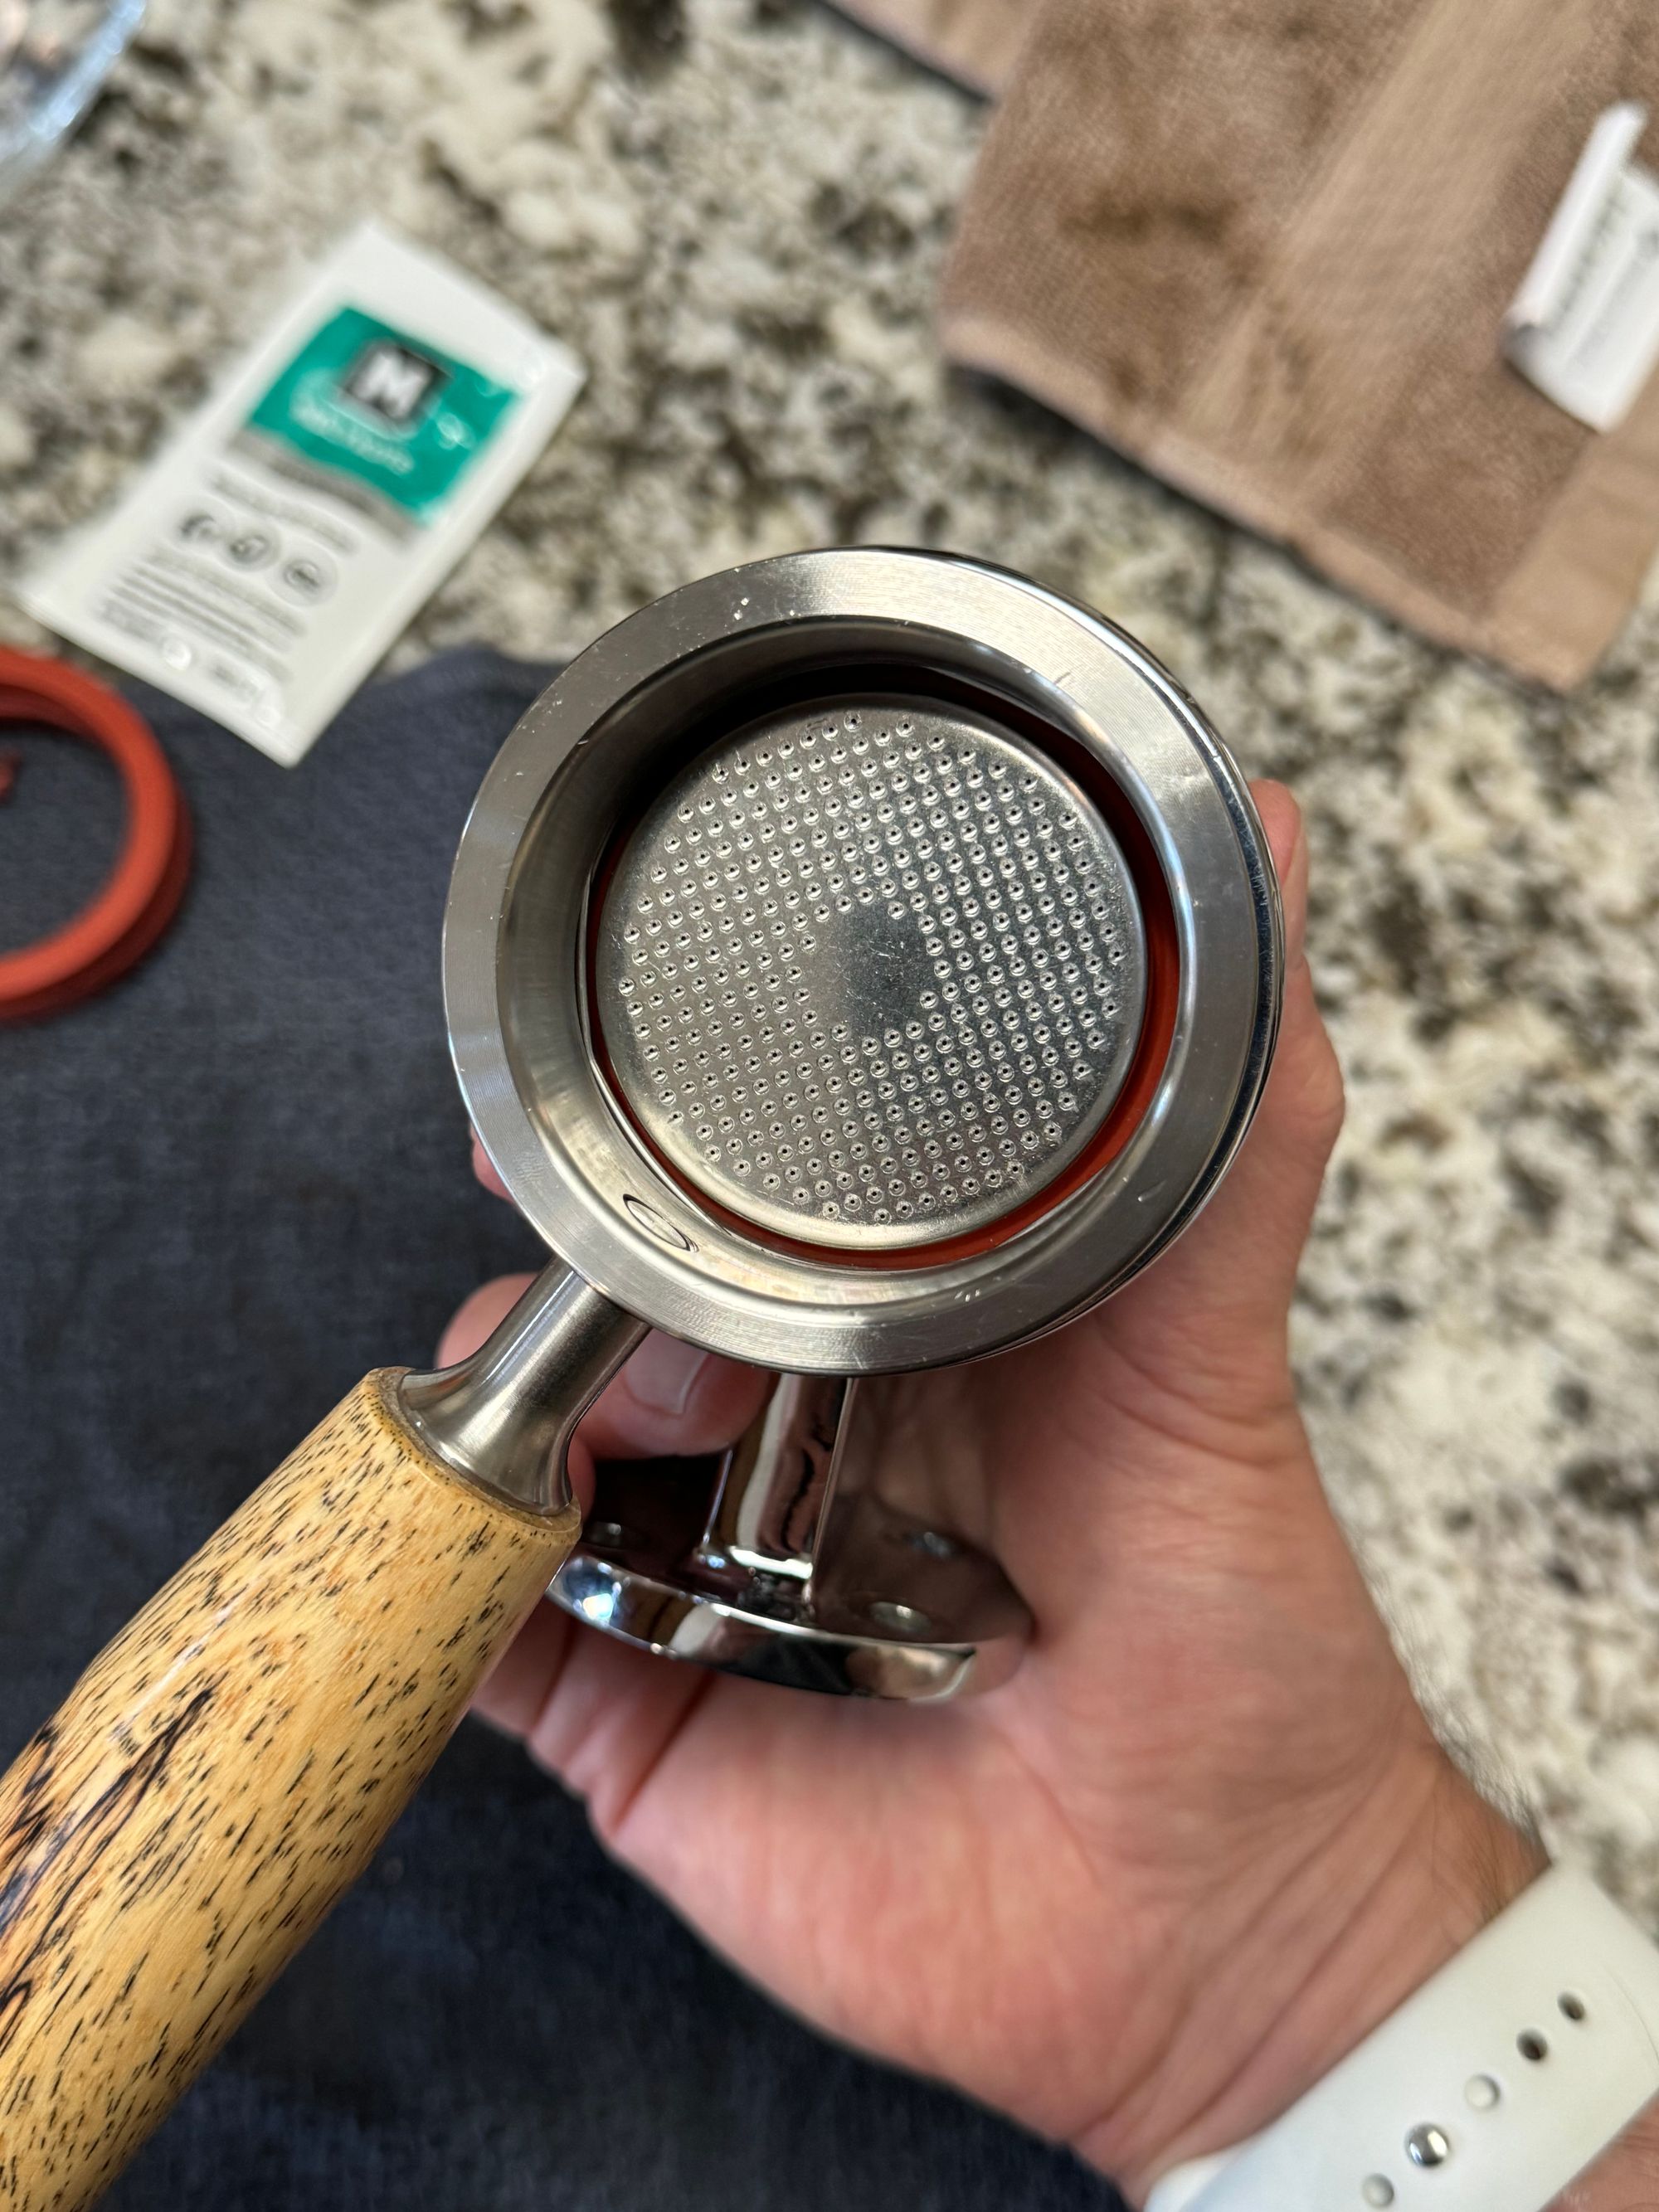
Then, use your portafilter, without the basket, to fully seat the gasket by locking it into the group (see below).
Step 7: Replace the Group and Milk Frother
Screw the group back into place on the machine and screw the milk frother tip back into place.
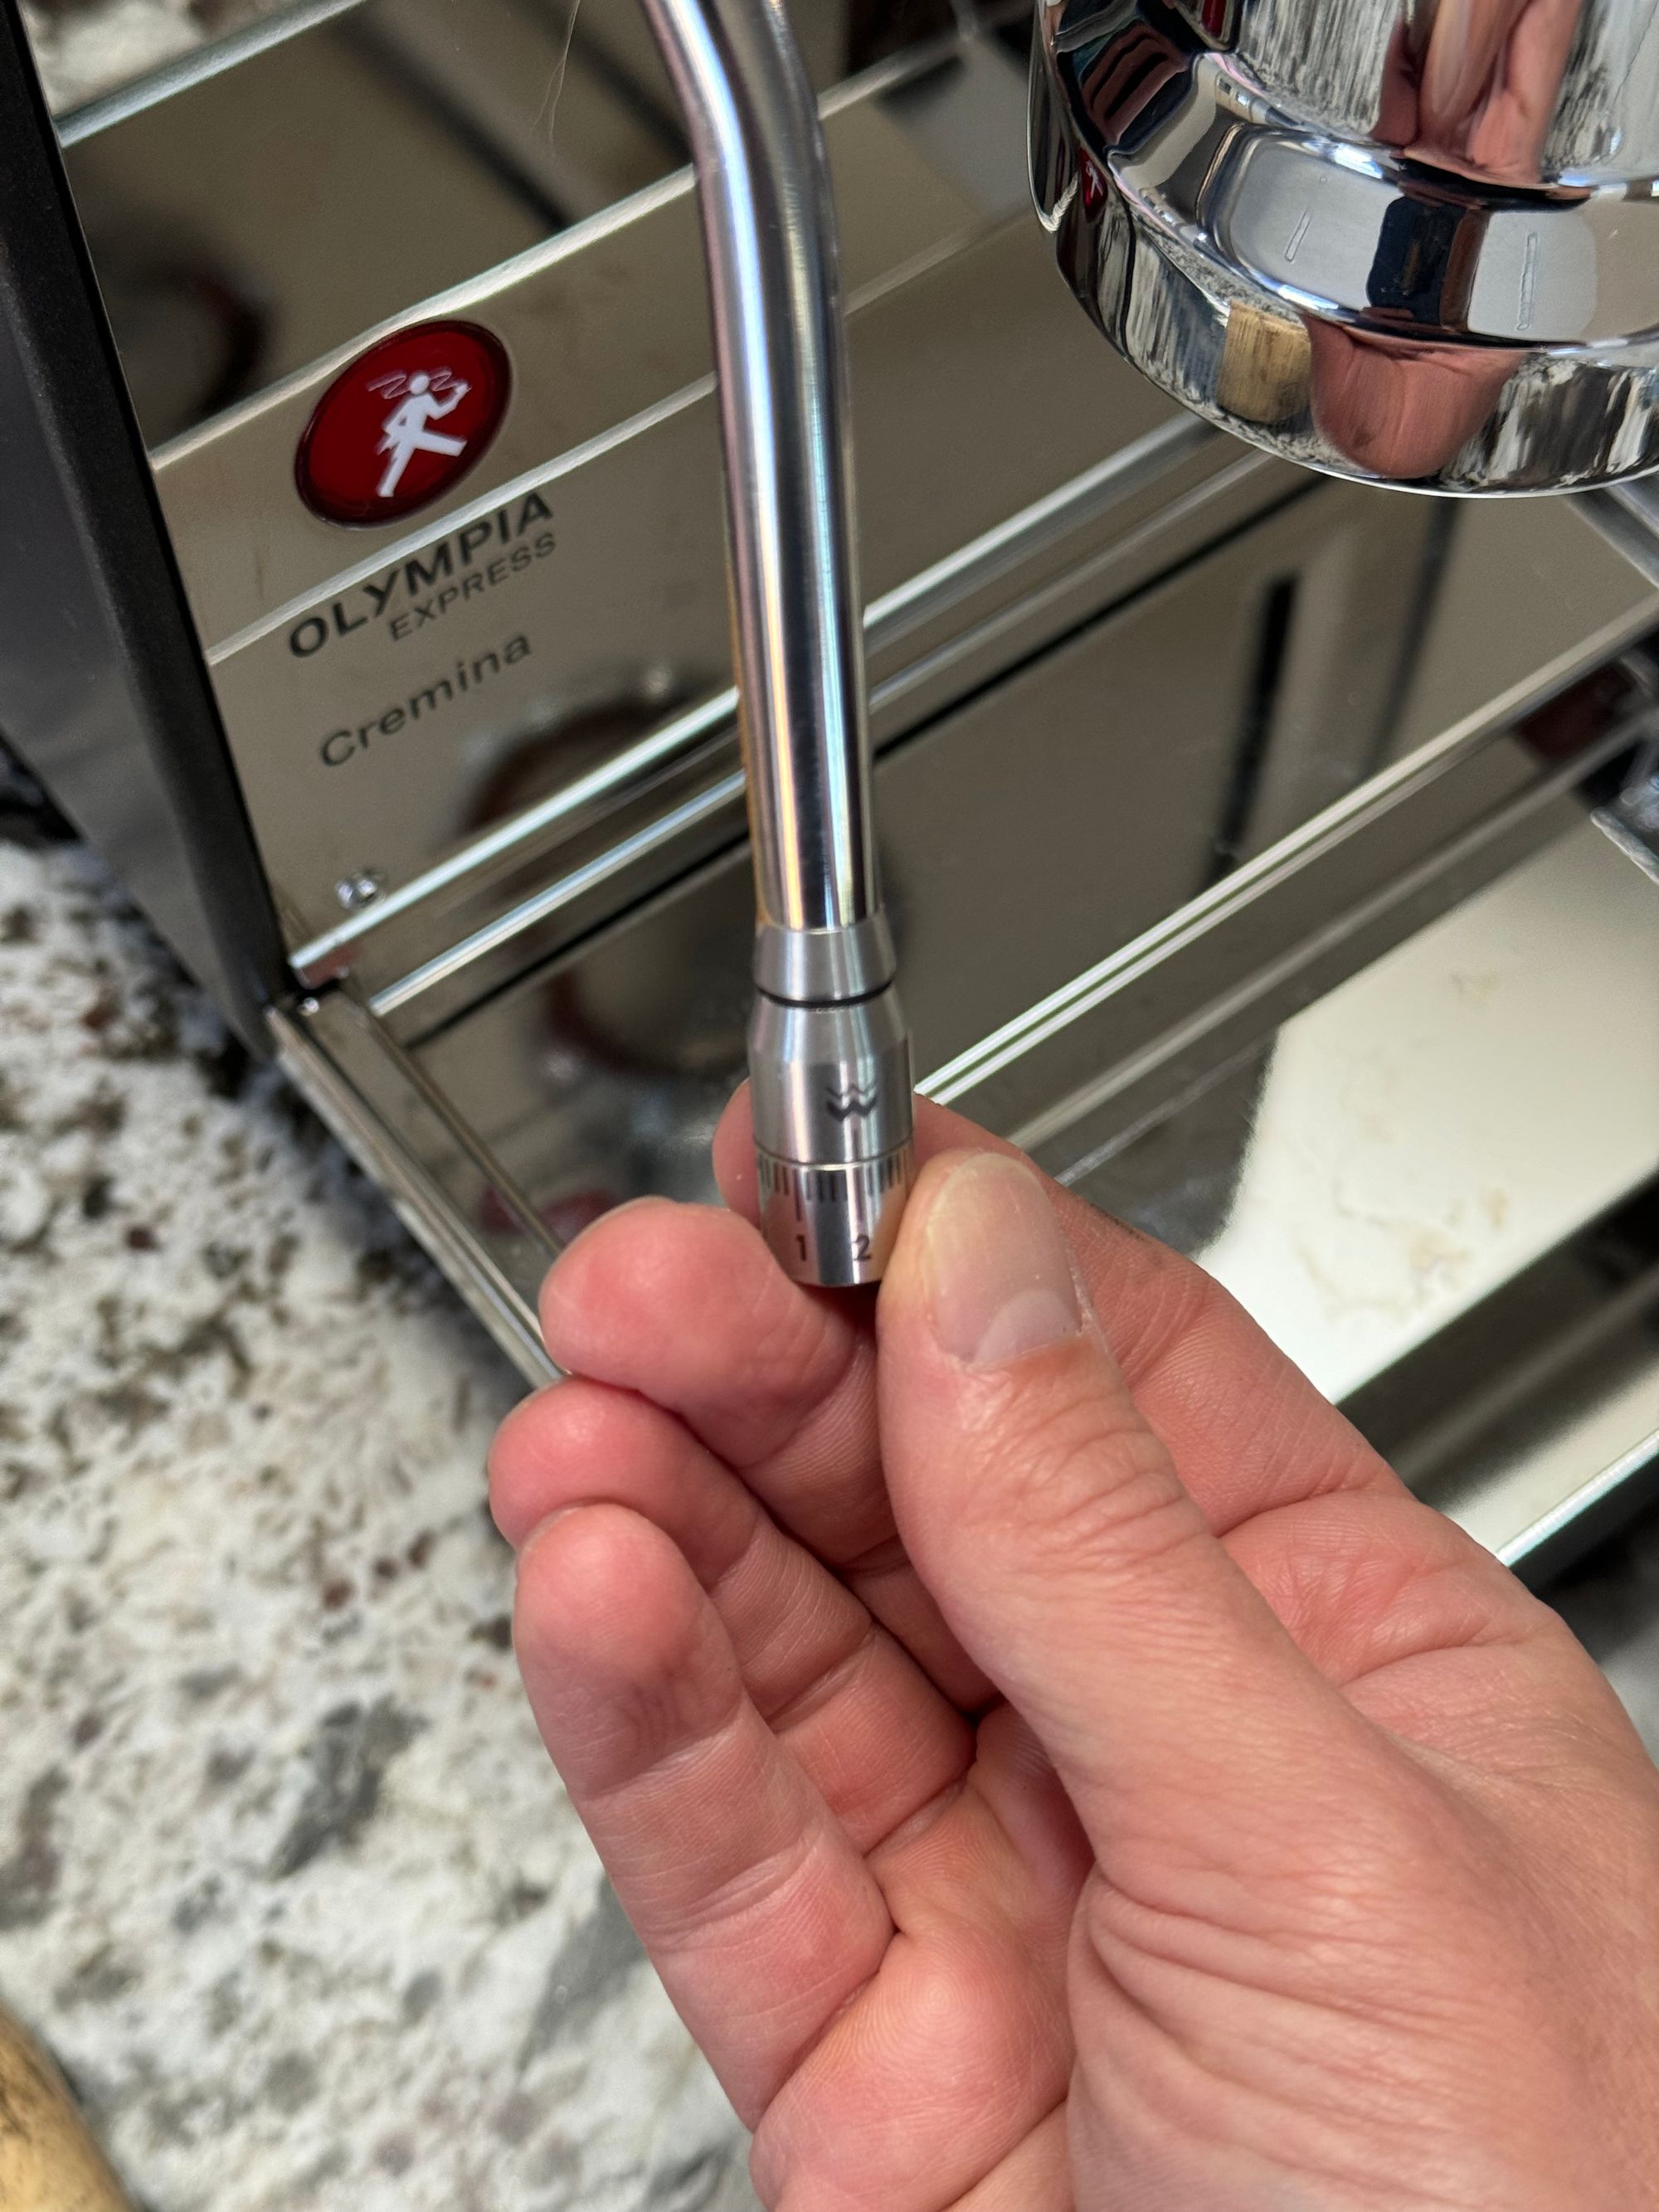
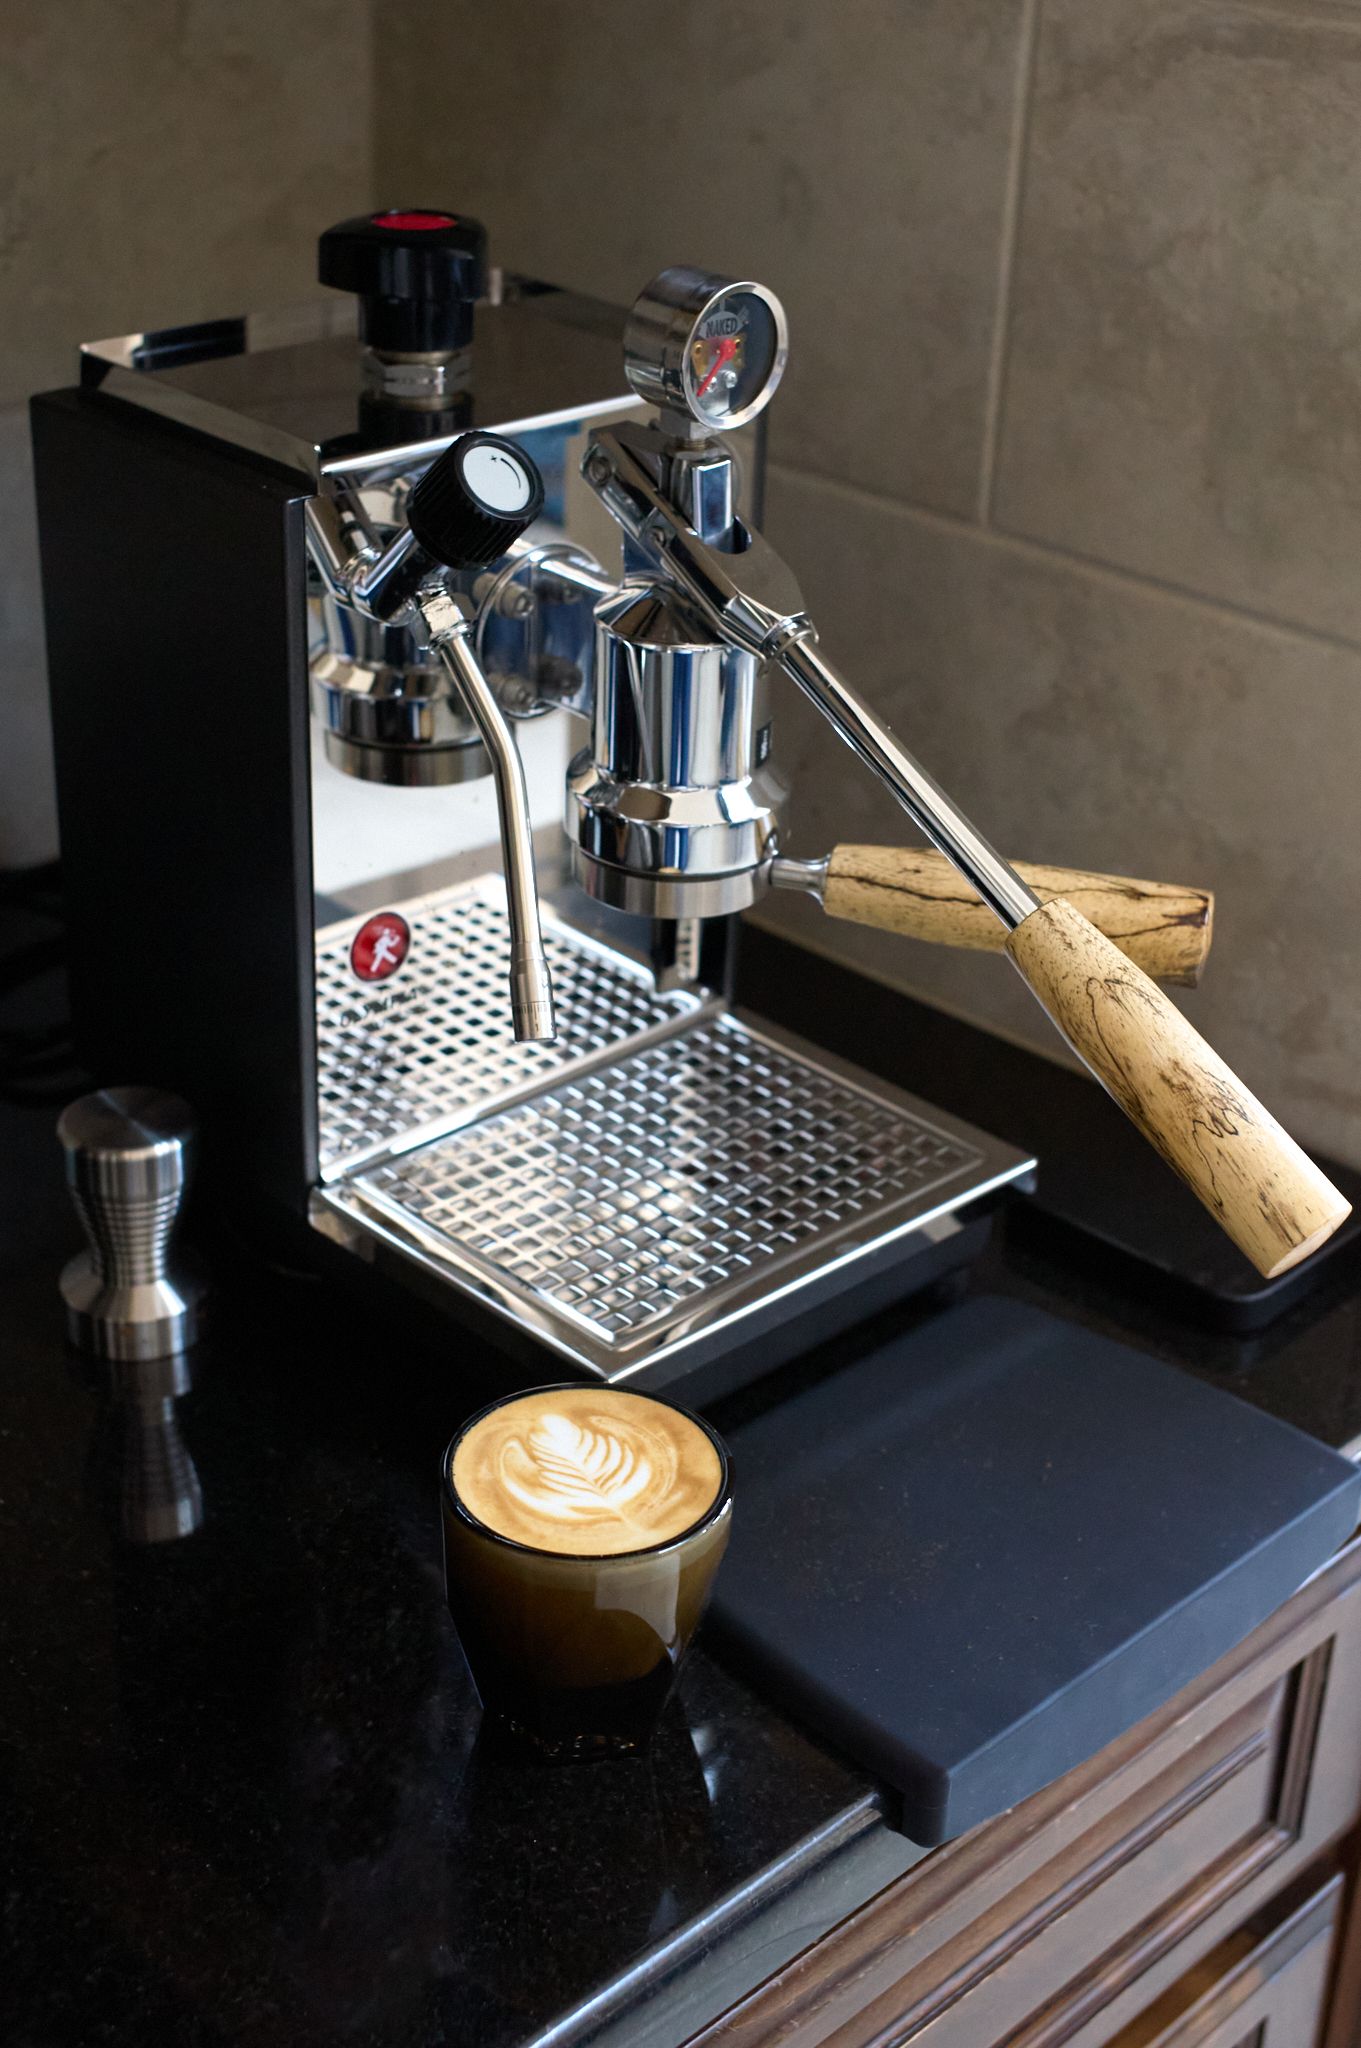
I have the Weber Workshops Steam Dial for the Cremina and highly recommend it!
Wrap Up
With everything replaced, give the machine a complete wipe down, clean out the drip tray, and fire it up for a test espresso. You'll immediately notice an improvement in the performance of the machine and the taste of the espresso. Or maybe it's just that clean feeling you get making everything that much better.
Enjoy!
Resources
Orphan Espresso's YouTube video helped me tremendously. I love the old-school feel of the video, too, it has that Lost show's Dharma Initiative vibe.
I order my molykote and gaskets from Cerini Coffee in the USA.